

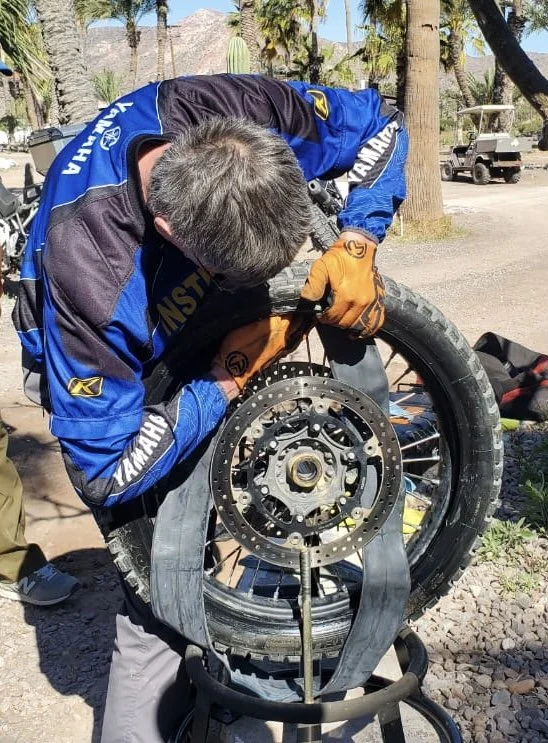
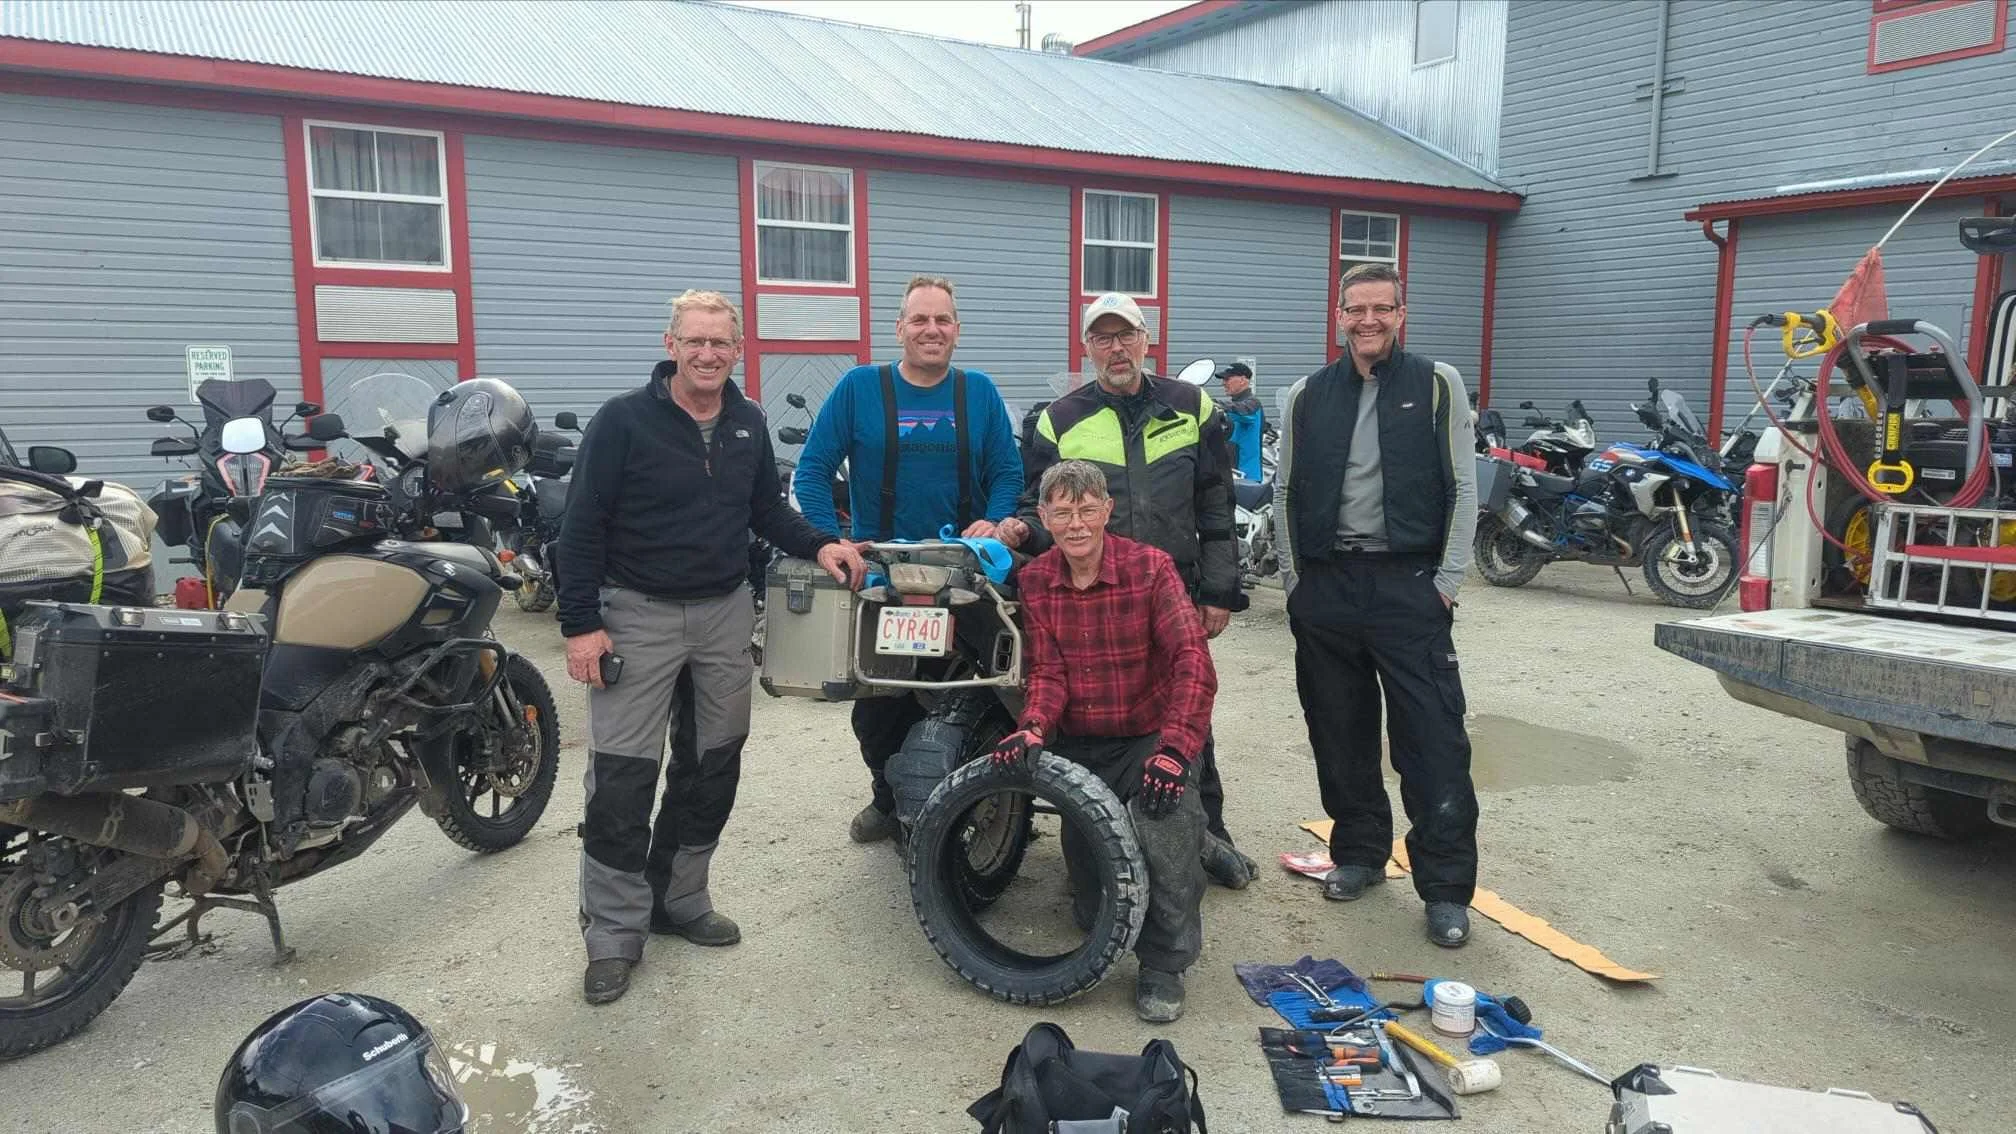
Photo: Clinton Smout
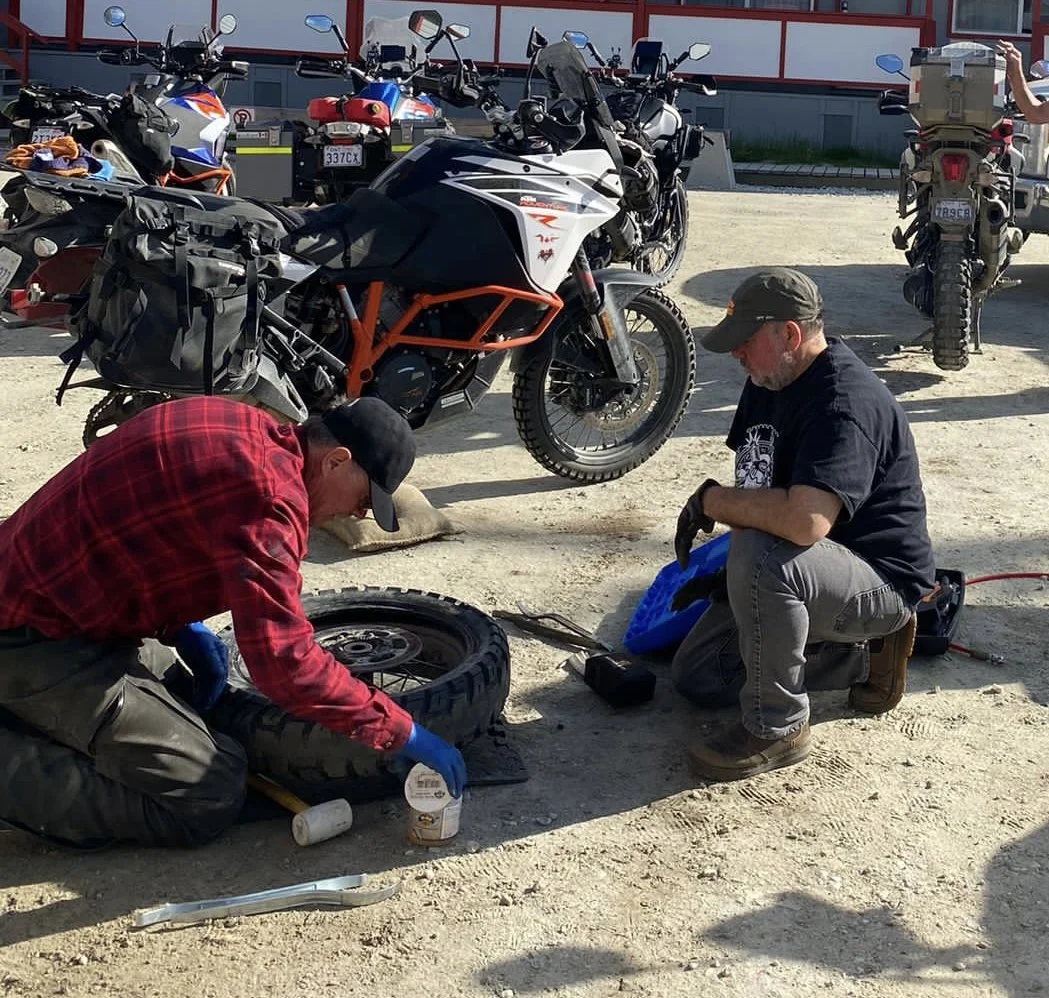
This Rider Skills episode is a practical guide to roadside motorcycle tire repair for adventure and dual-sport riders. Instructor Clinton Smout shares hard-earned methods for plugging tubeless tires, patching or replacing inner tubes, breaking and seating beads without a shop, quick leak-finding, bent-rim workarounds, and true limp-home repairs. We compare compressor vs CO₂, talk what to pack (plugs, patches, tubes, irons, lube), and walk through the steps that get you rolling again when you’re far from help. If you’ve searched “how to fix a flat motorcycle tire,” “tubeless plug on the trail,” or “adventure bike tire repair,” this episode gives you the real-world techniques that work in dirt, gravel, and backroads.
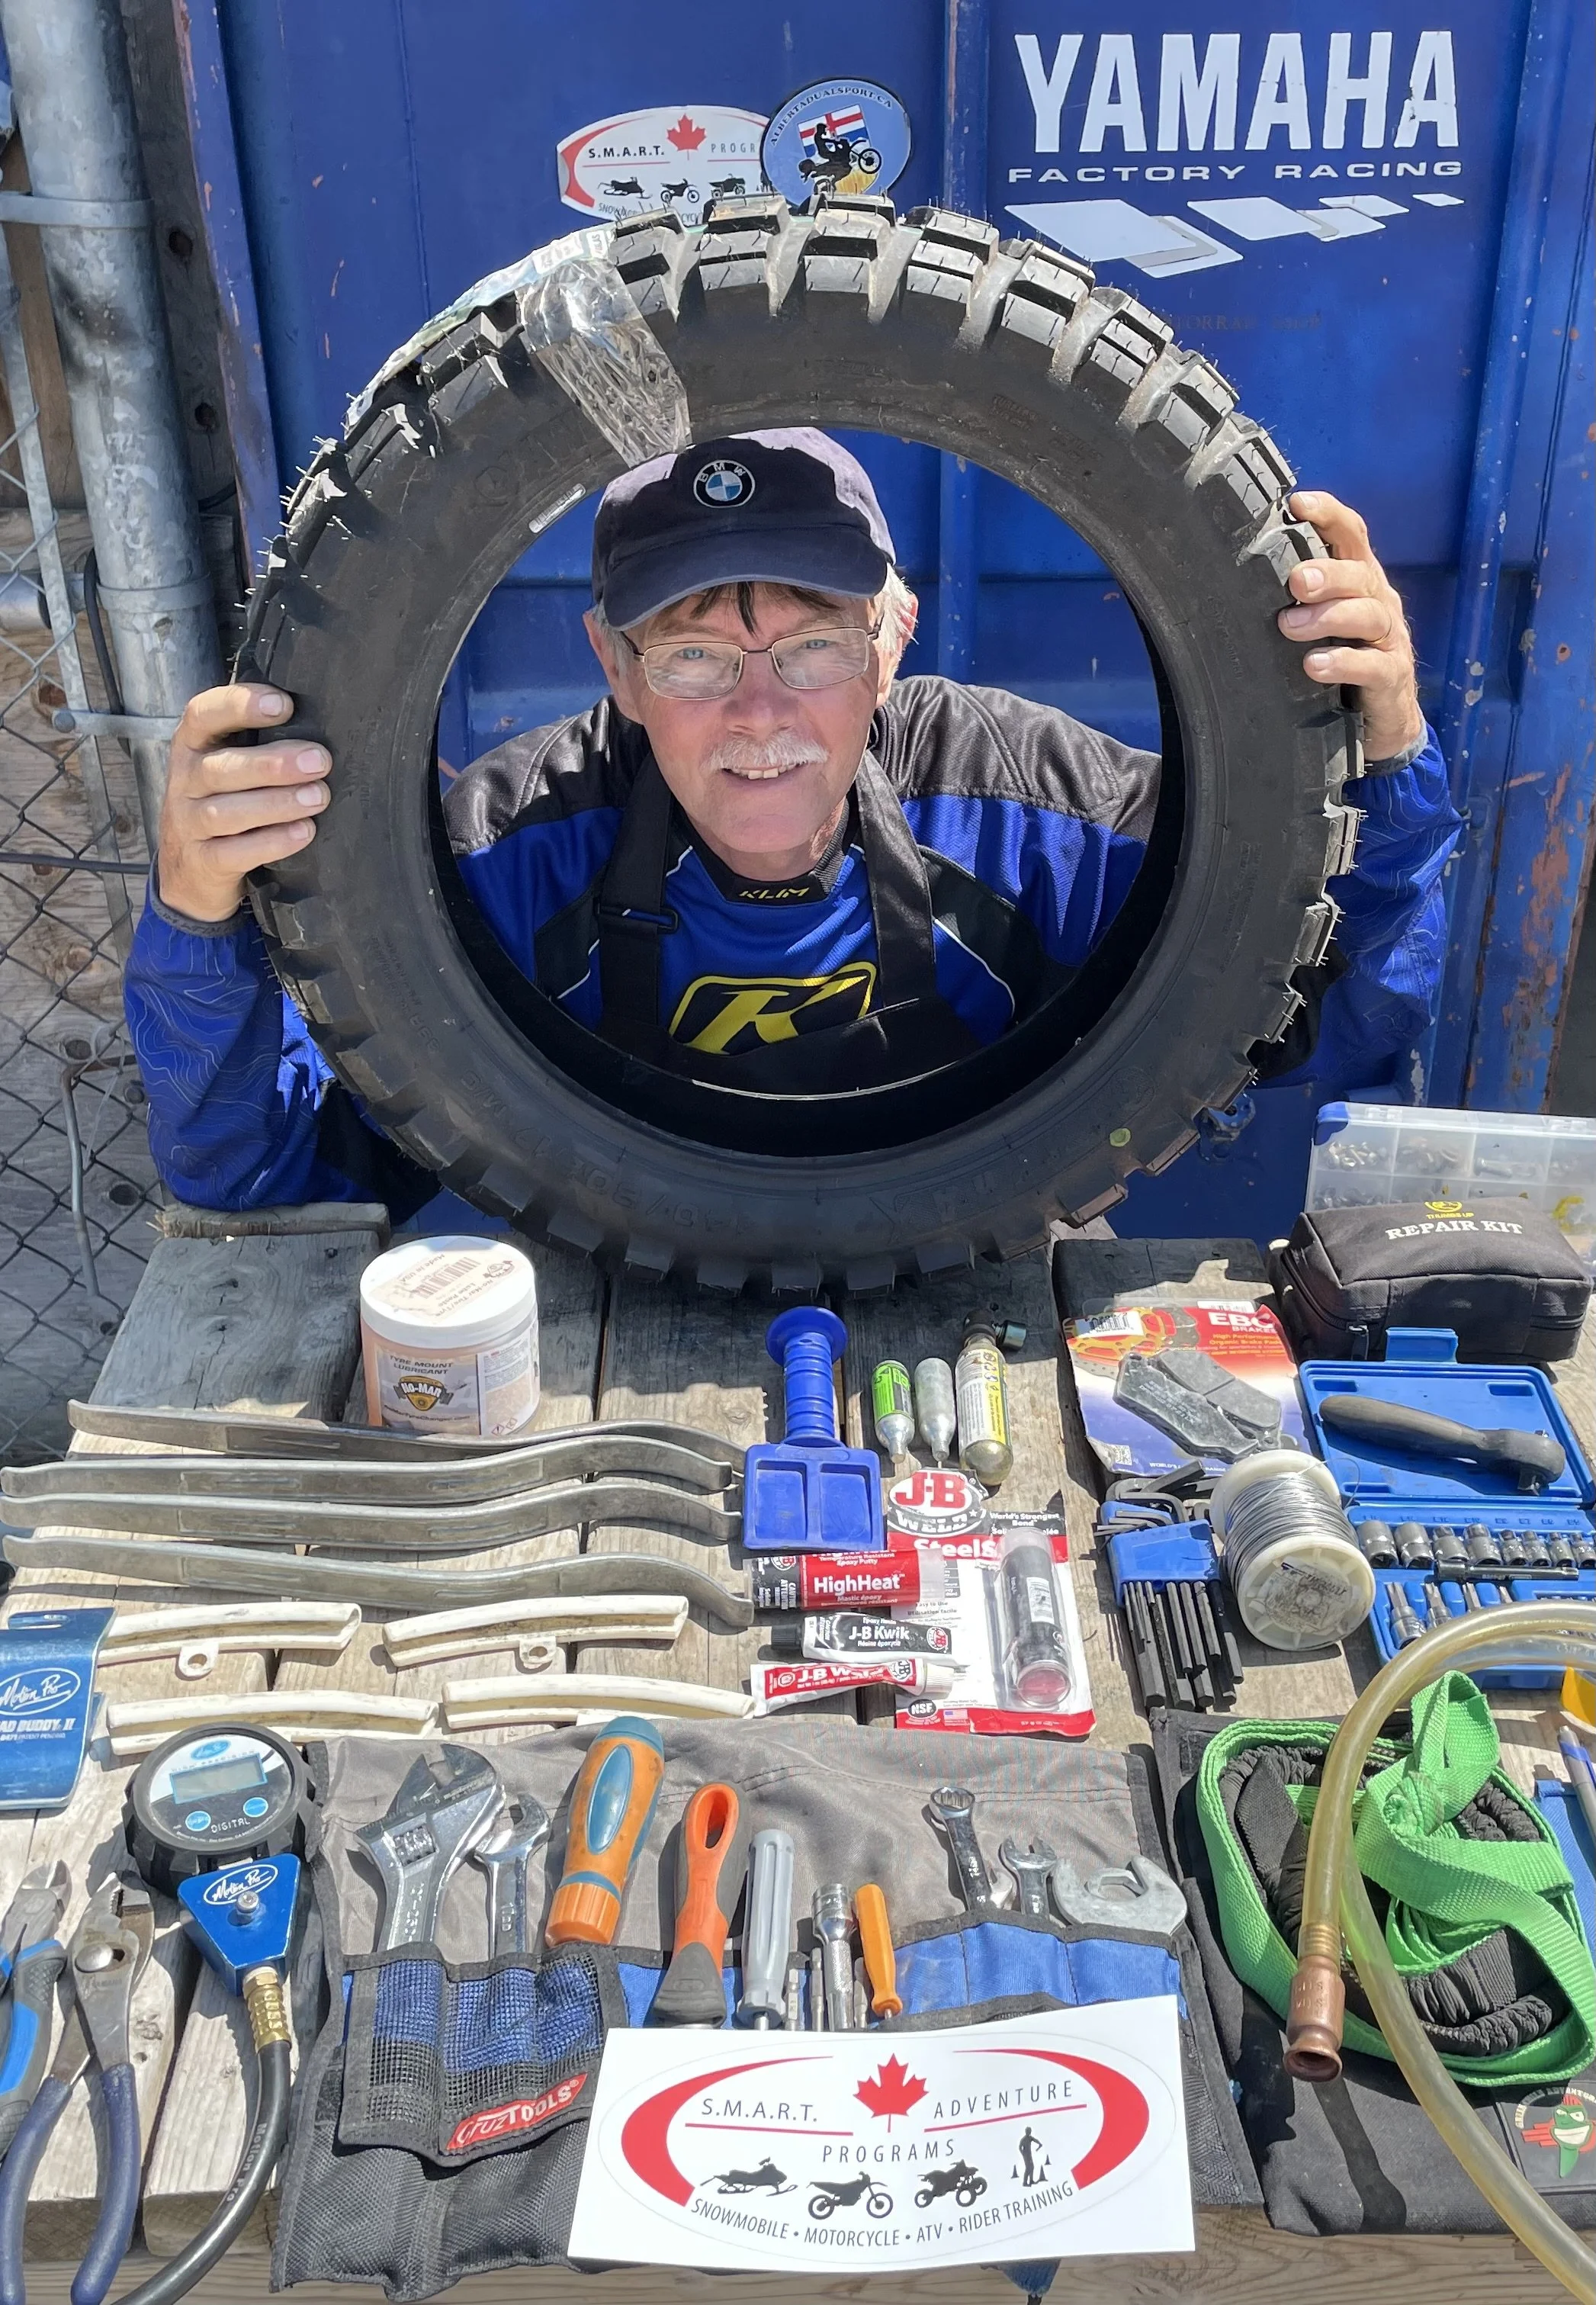
Clinton Smout - SMART Adventure Programs/SMART Performance Centre:
Clinton Smout is the highly regarded chief motorcycle instructor and founder of SMART Adventures in Ontario, Canada. With his extensive experience and expertise in motorcycling, Clinton has become a prominent figure in motorcycle education and safety. He is known for his passionate approach to teaching, emphasizing the importance of proper riding techniques, road awareness, and safety precautions. Through SMART Adventures, Clinton has helped numerous individuals enhance their motorcycling skills, whether they are beginners looking to learn the basics or experienced riders aiming to refine their techniques. His dedication to promoting safe and responsible motorcycling has made him a respected authority in the motorcycling community.
Web: SMART Performance Centre
Tire Repair – What To Carry
Works for both (tubeless & tube-type)
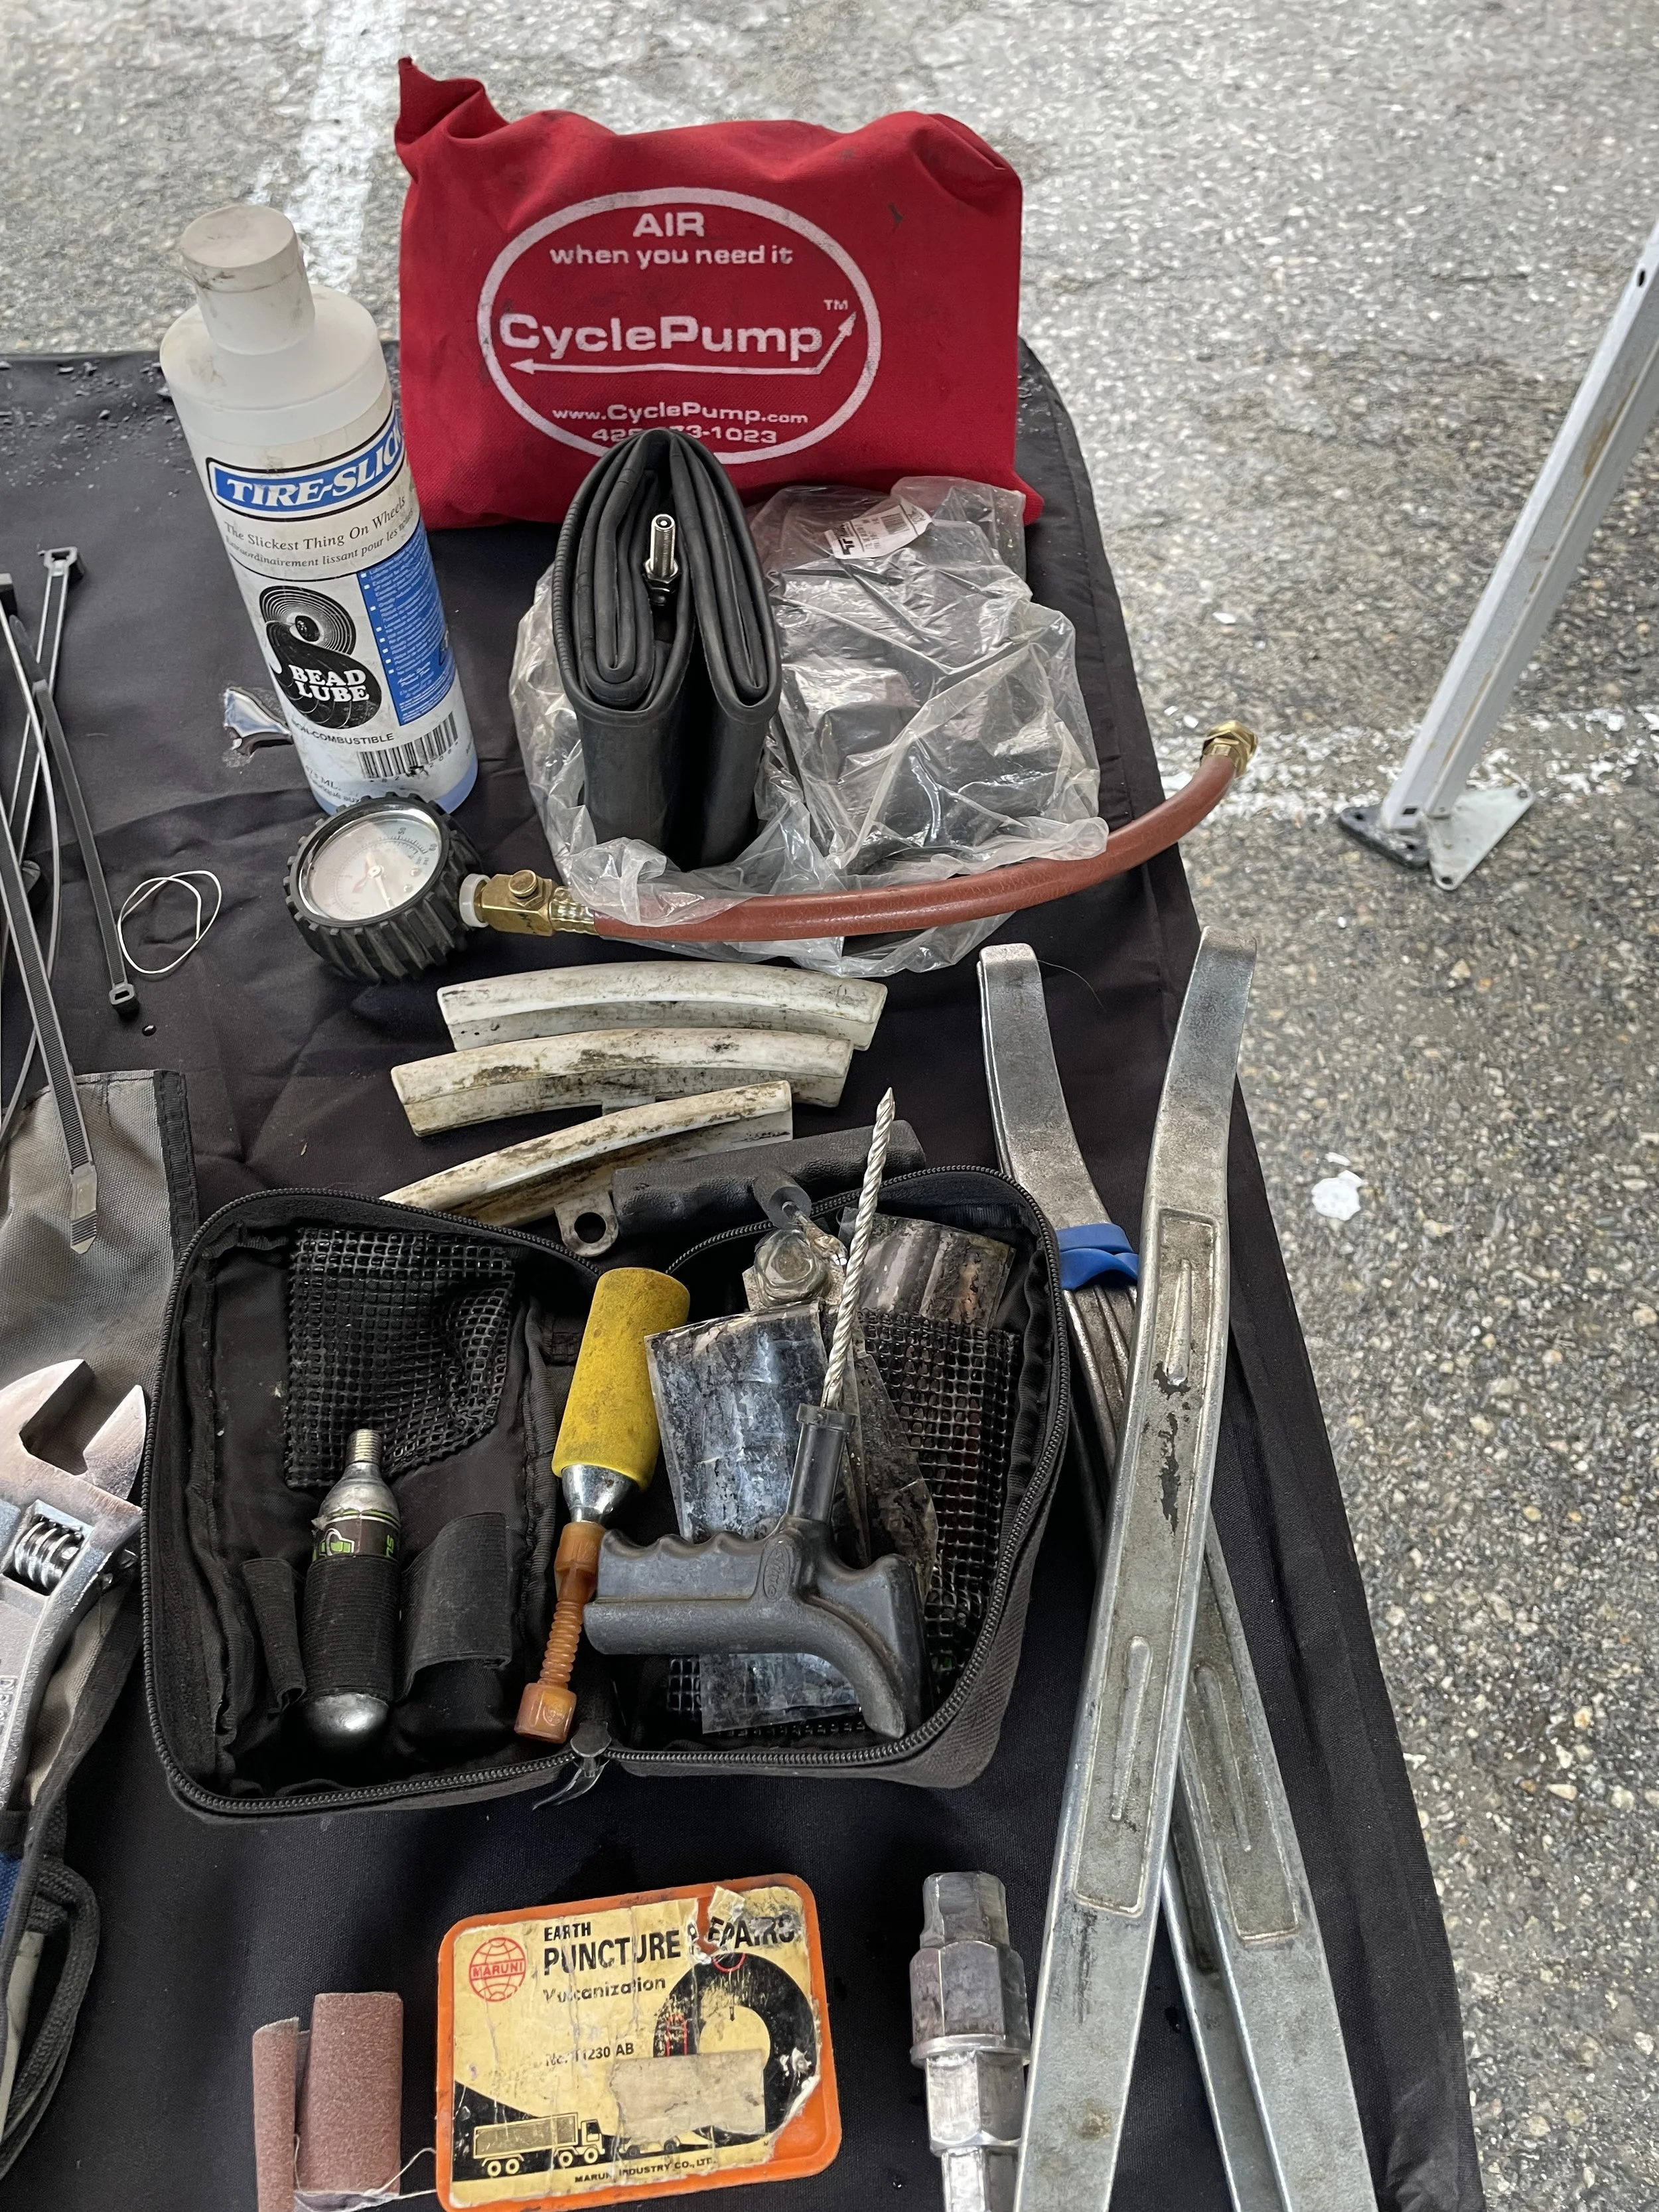
• Tire-pressure gauge (one you actually like)
• Valve-core tool + 2–4 spare valve cores (metal caps with core tool are handy)
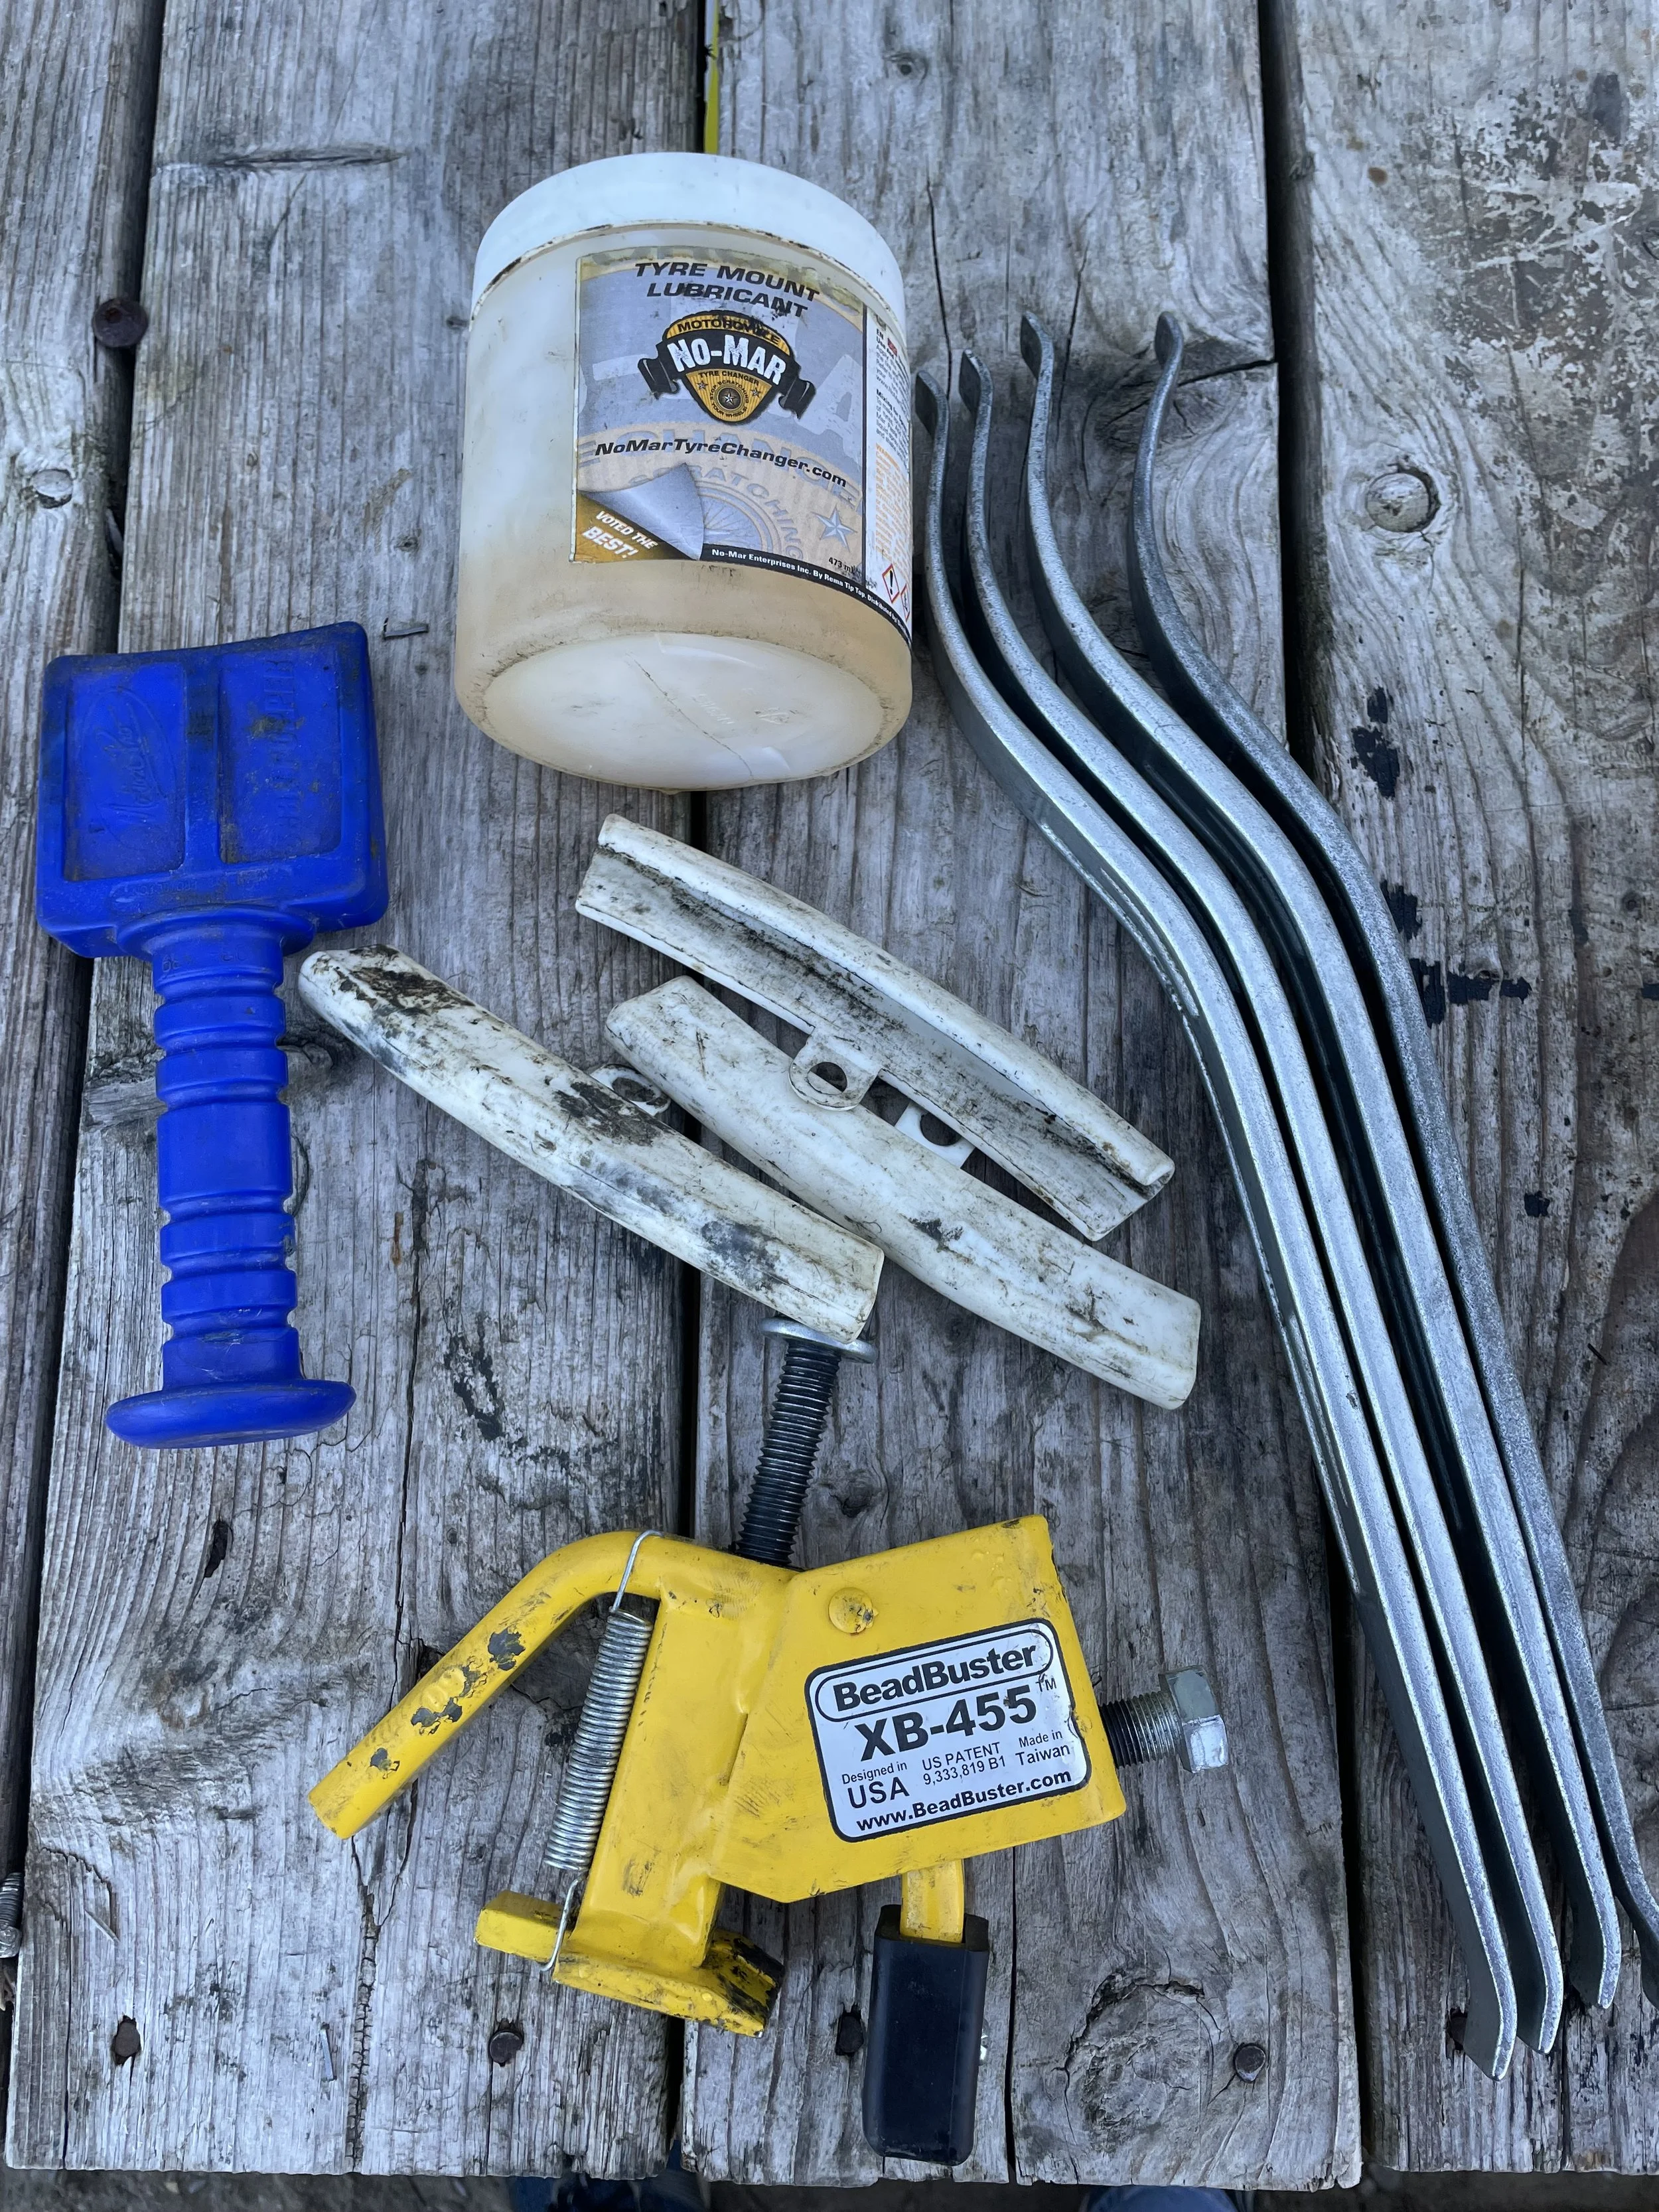
• Small bottle of real tire lube (Nomar-style or similar) + tiny soap vial as backup
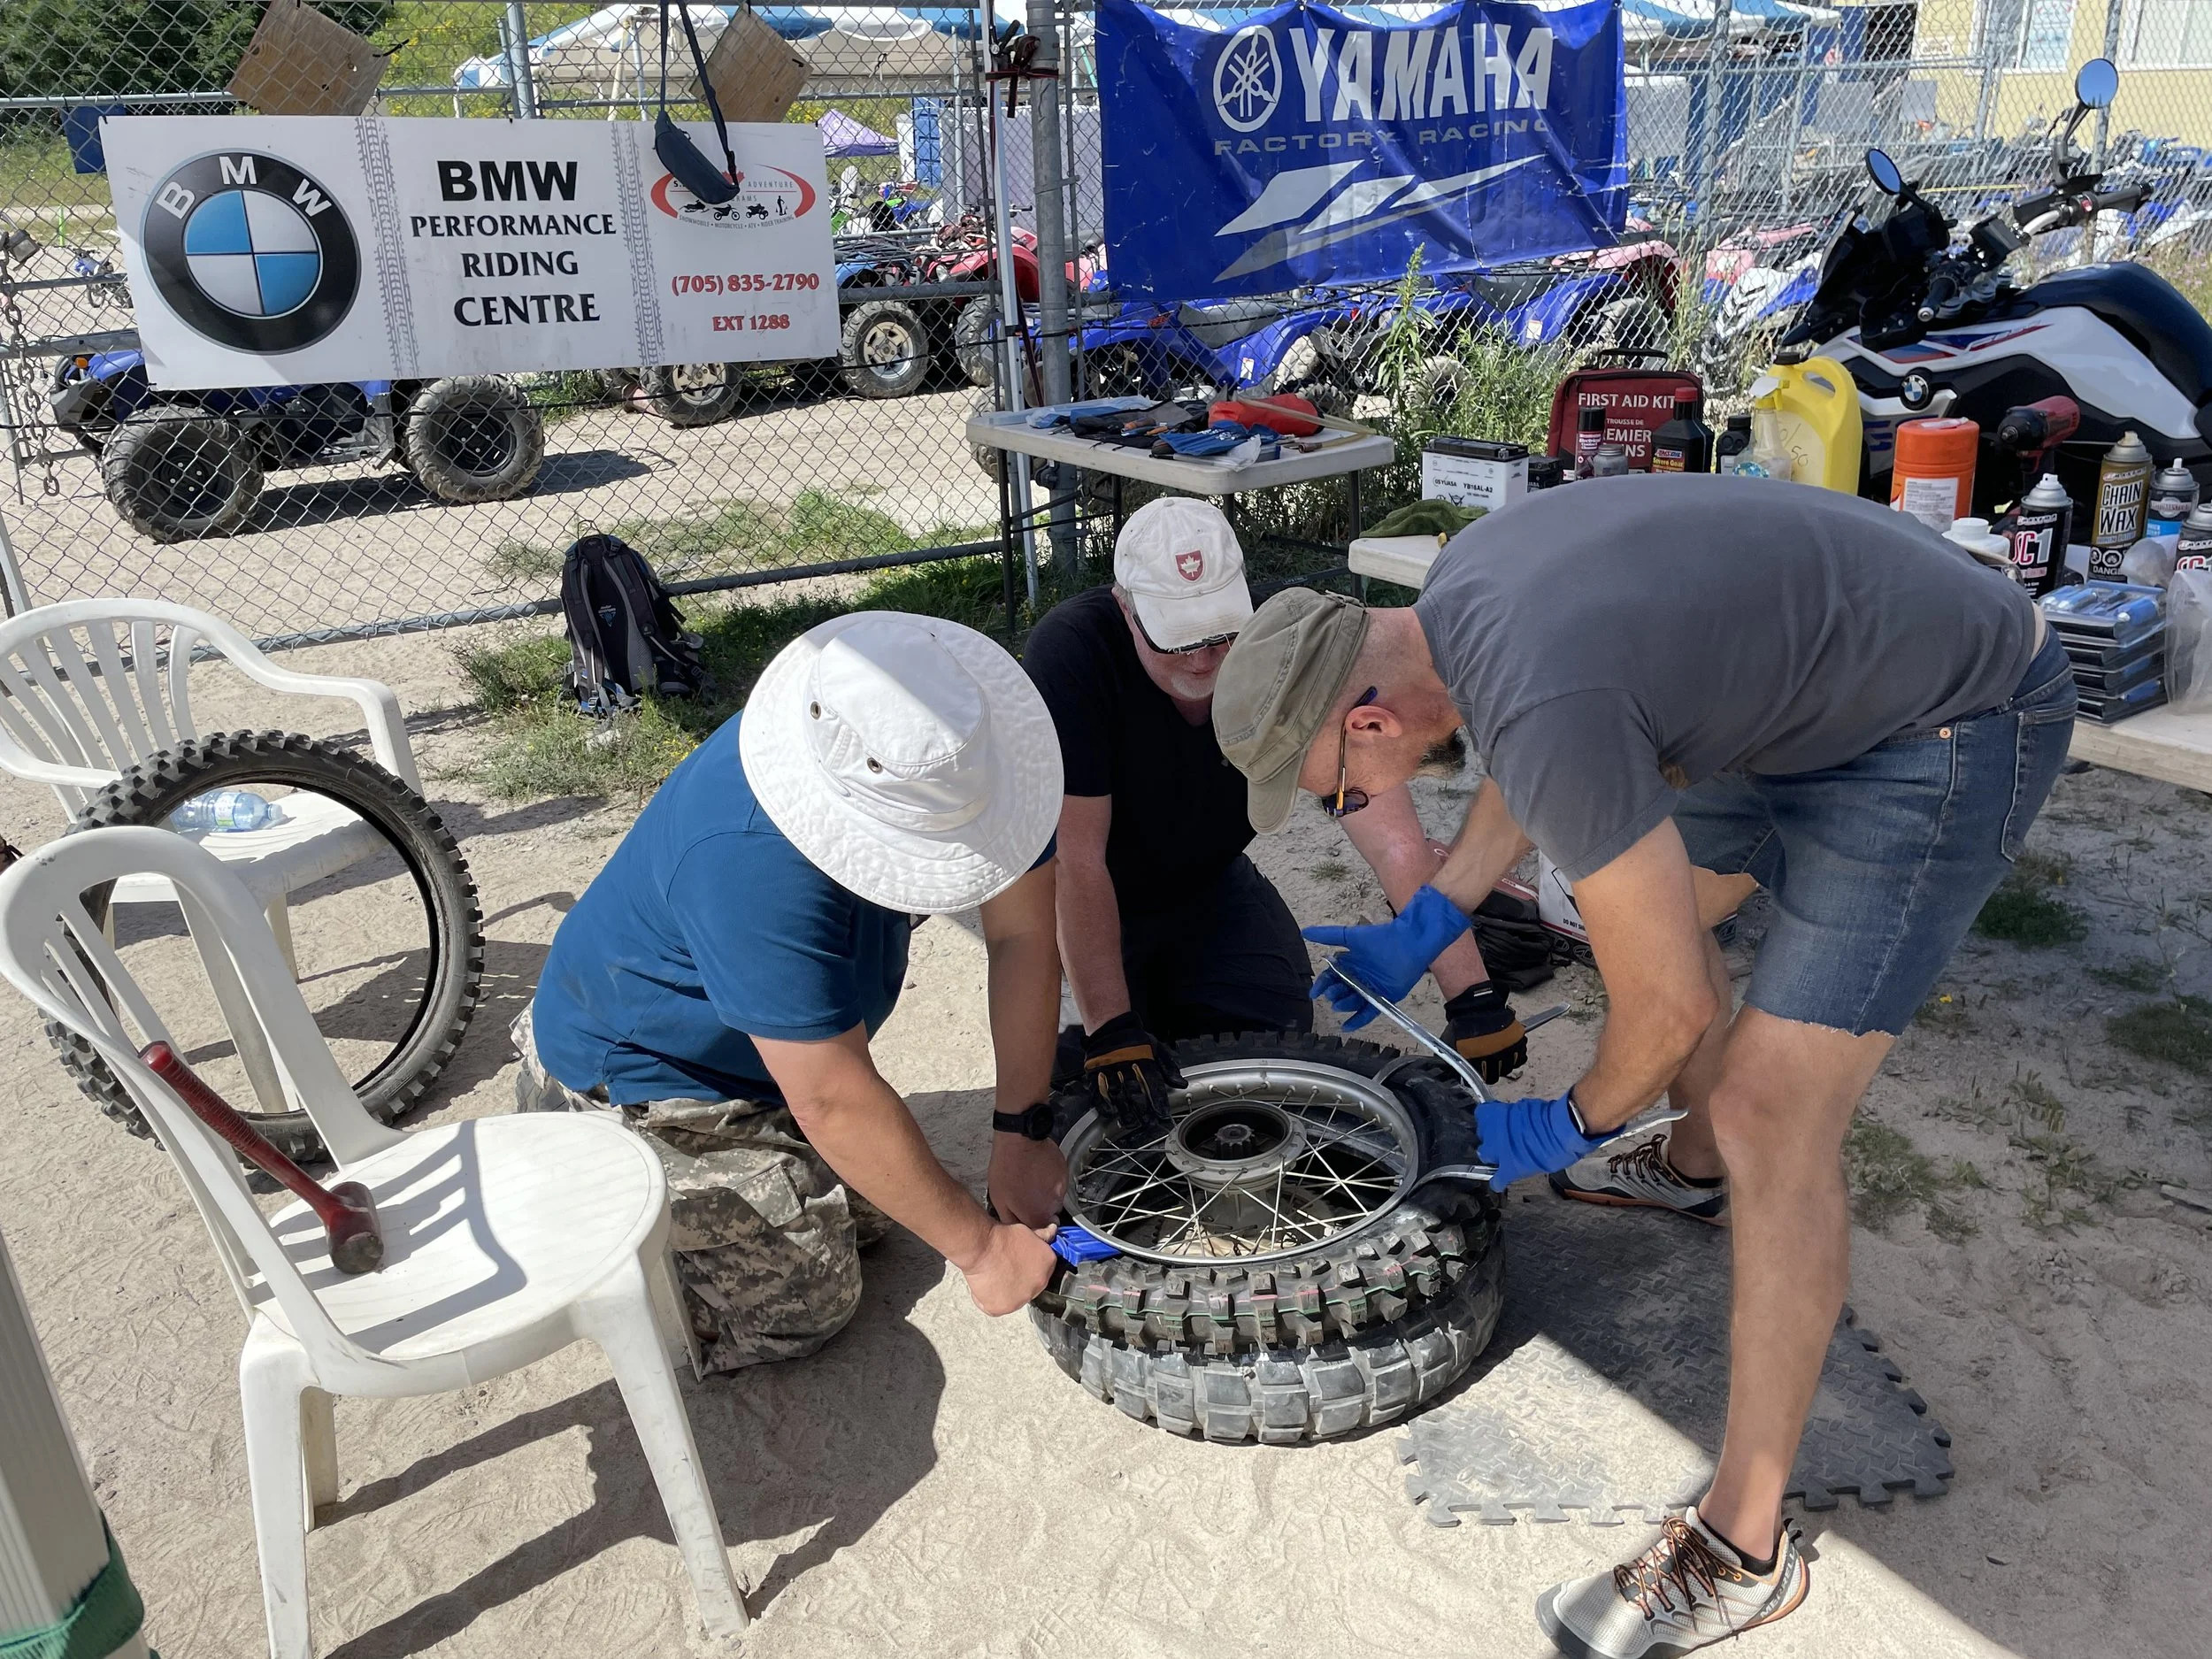
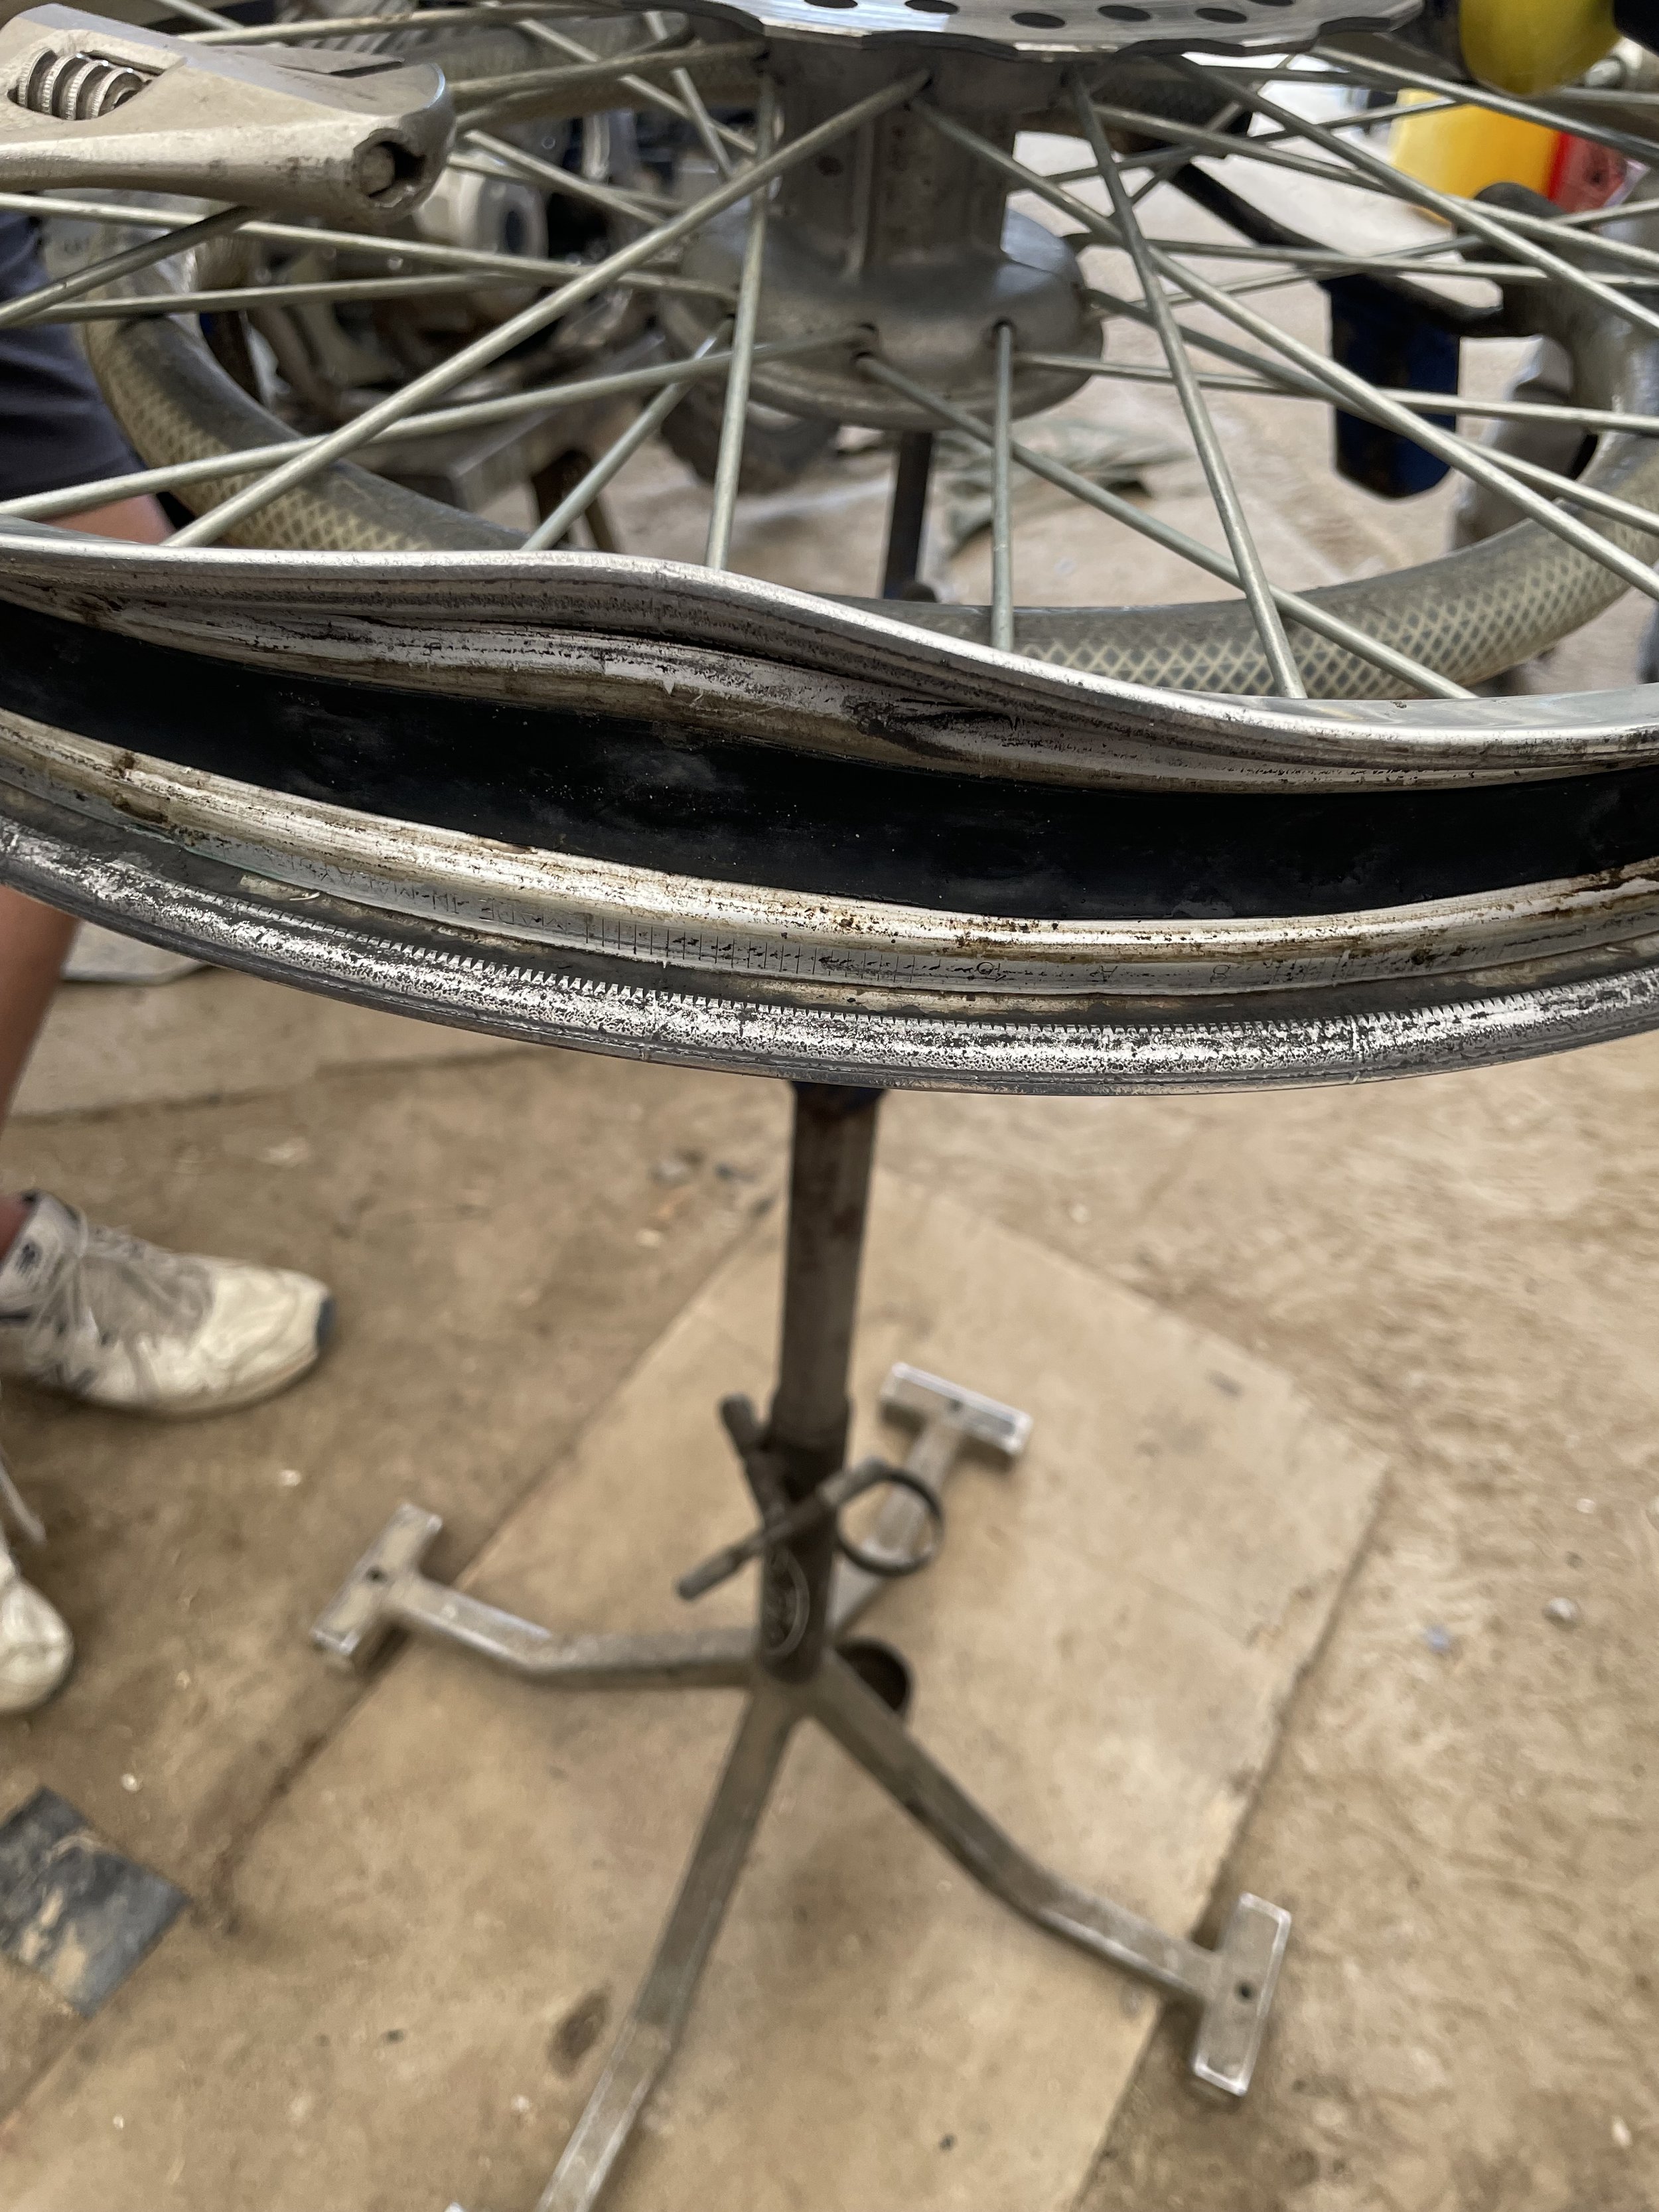
• Two tire irons + rim protectors (or two short garden-hose sleeves) **** Many riders carry short irons for space and weight considerations but Clinton doesn’t like short tire irons since there is more leverage gained with long tire irons. Opening a stiff sidewall tire is really hard with short tire irons.
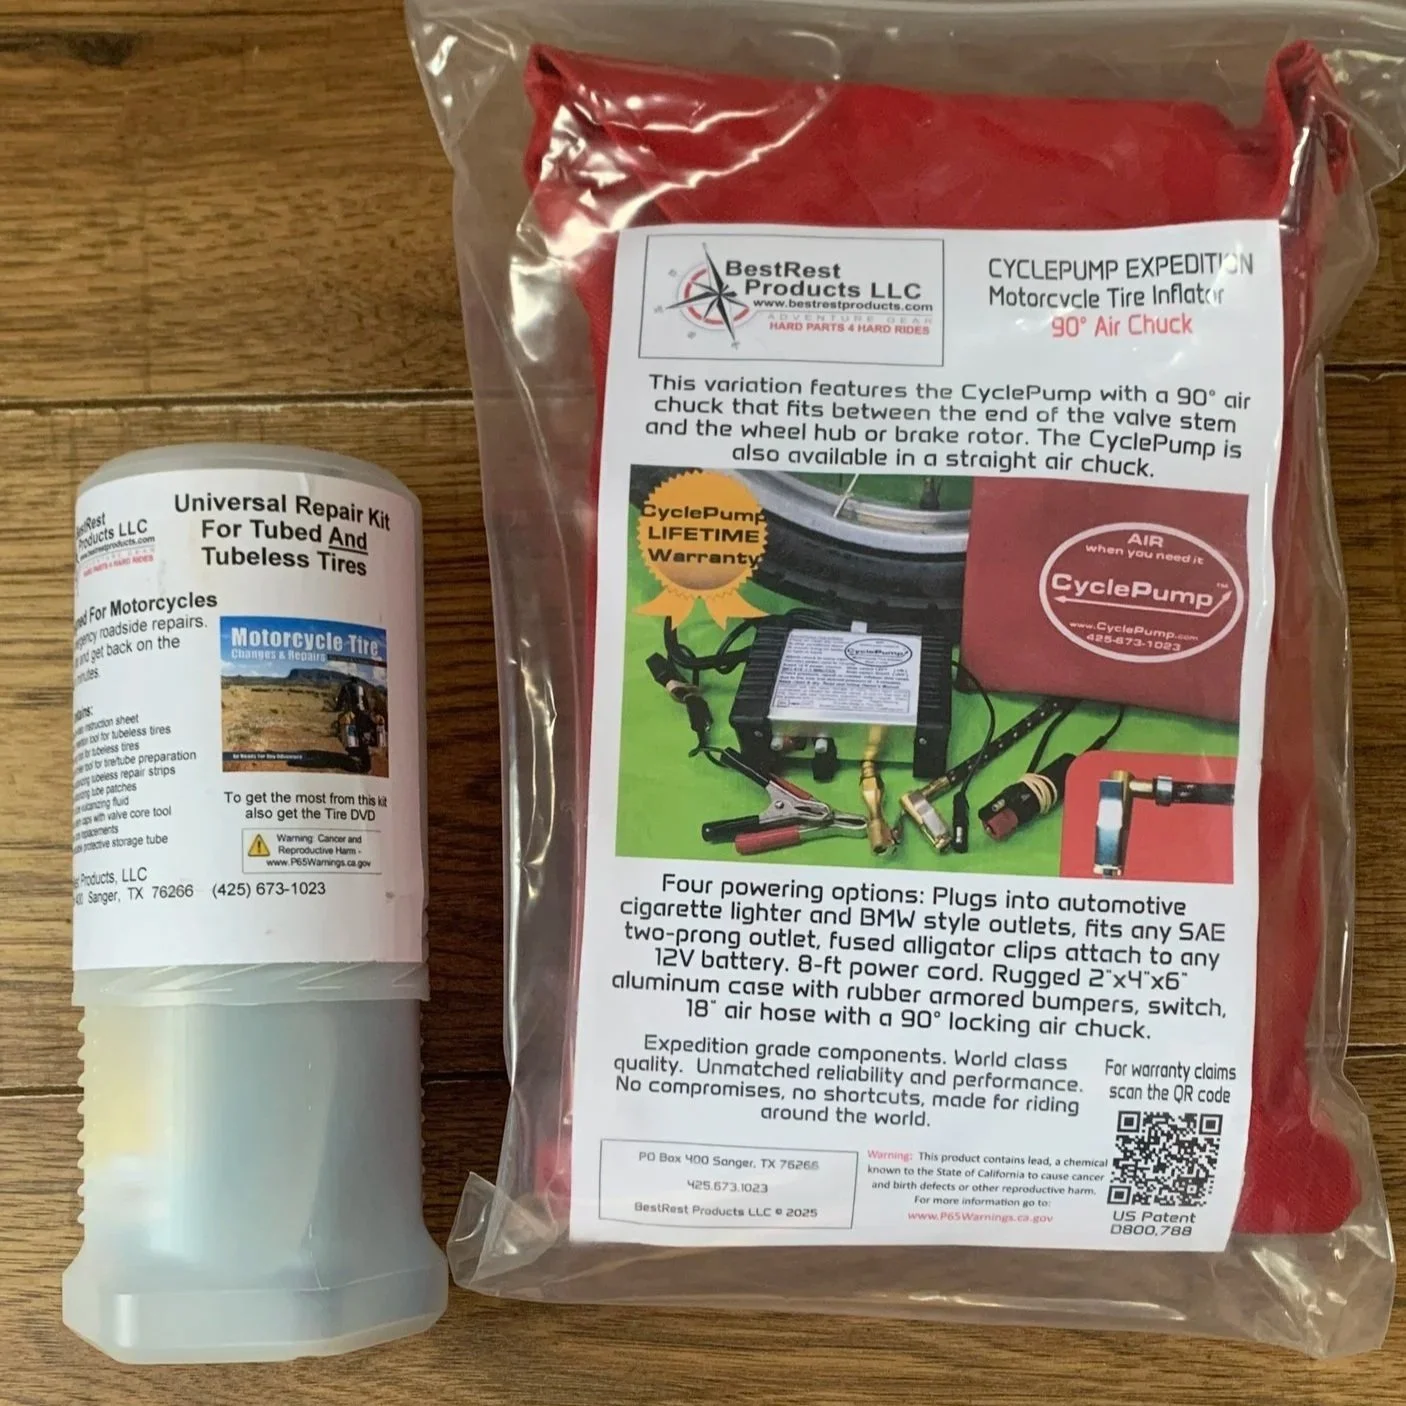
• Compact 12-V compressor with decent volume (e.g., BestRest CyclePump)
• CO₂ cartridges optional for quick top-ups; not reliable for seating beads
• Bead-breaking method you’ve practiced (two-iron technique, or trail bead breaker, or side-stand trick)
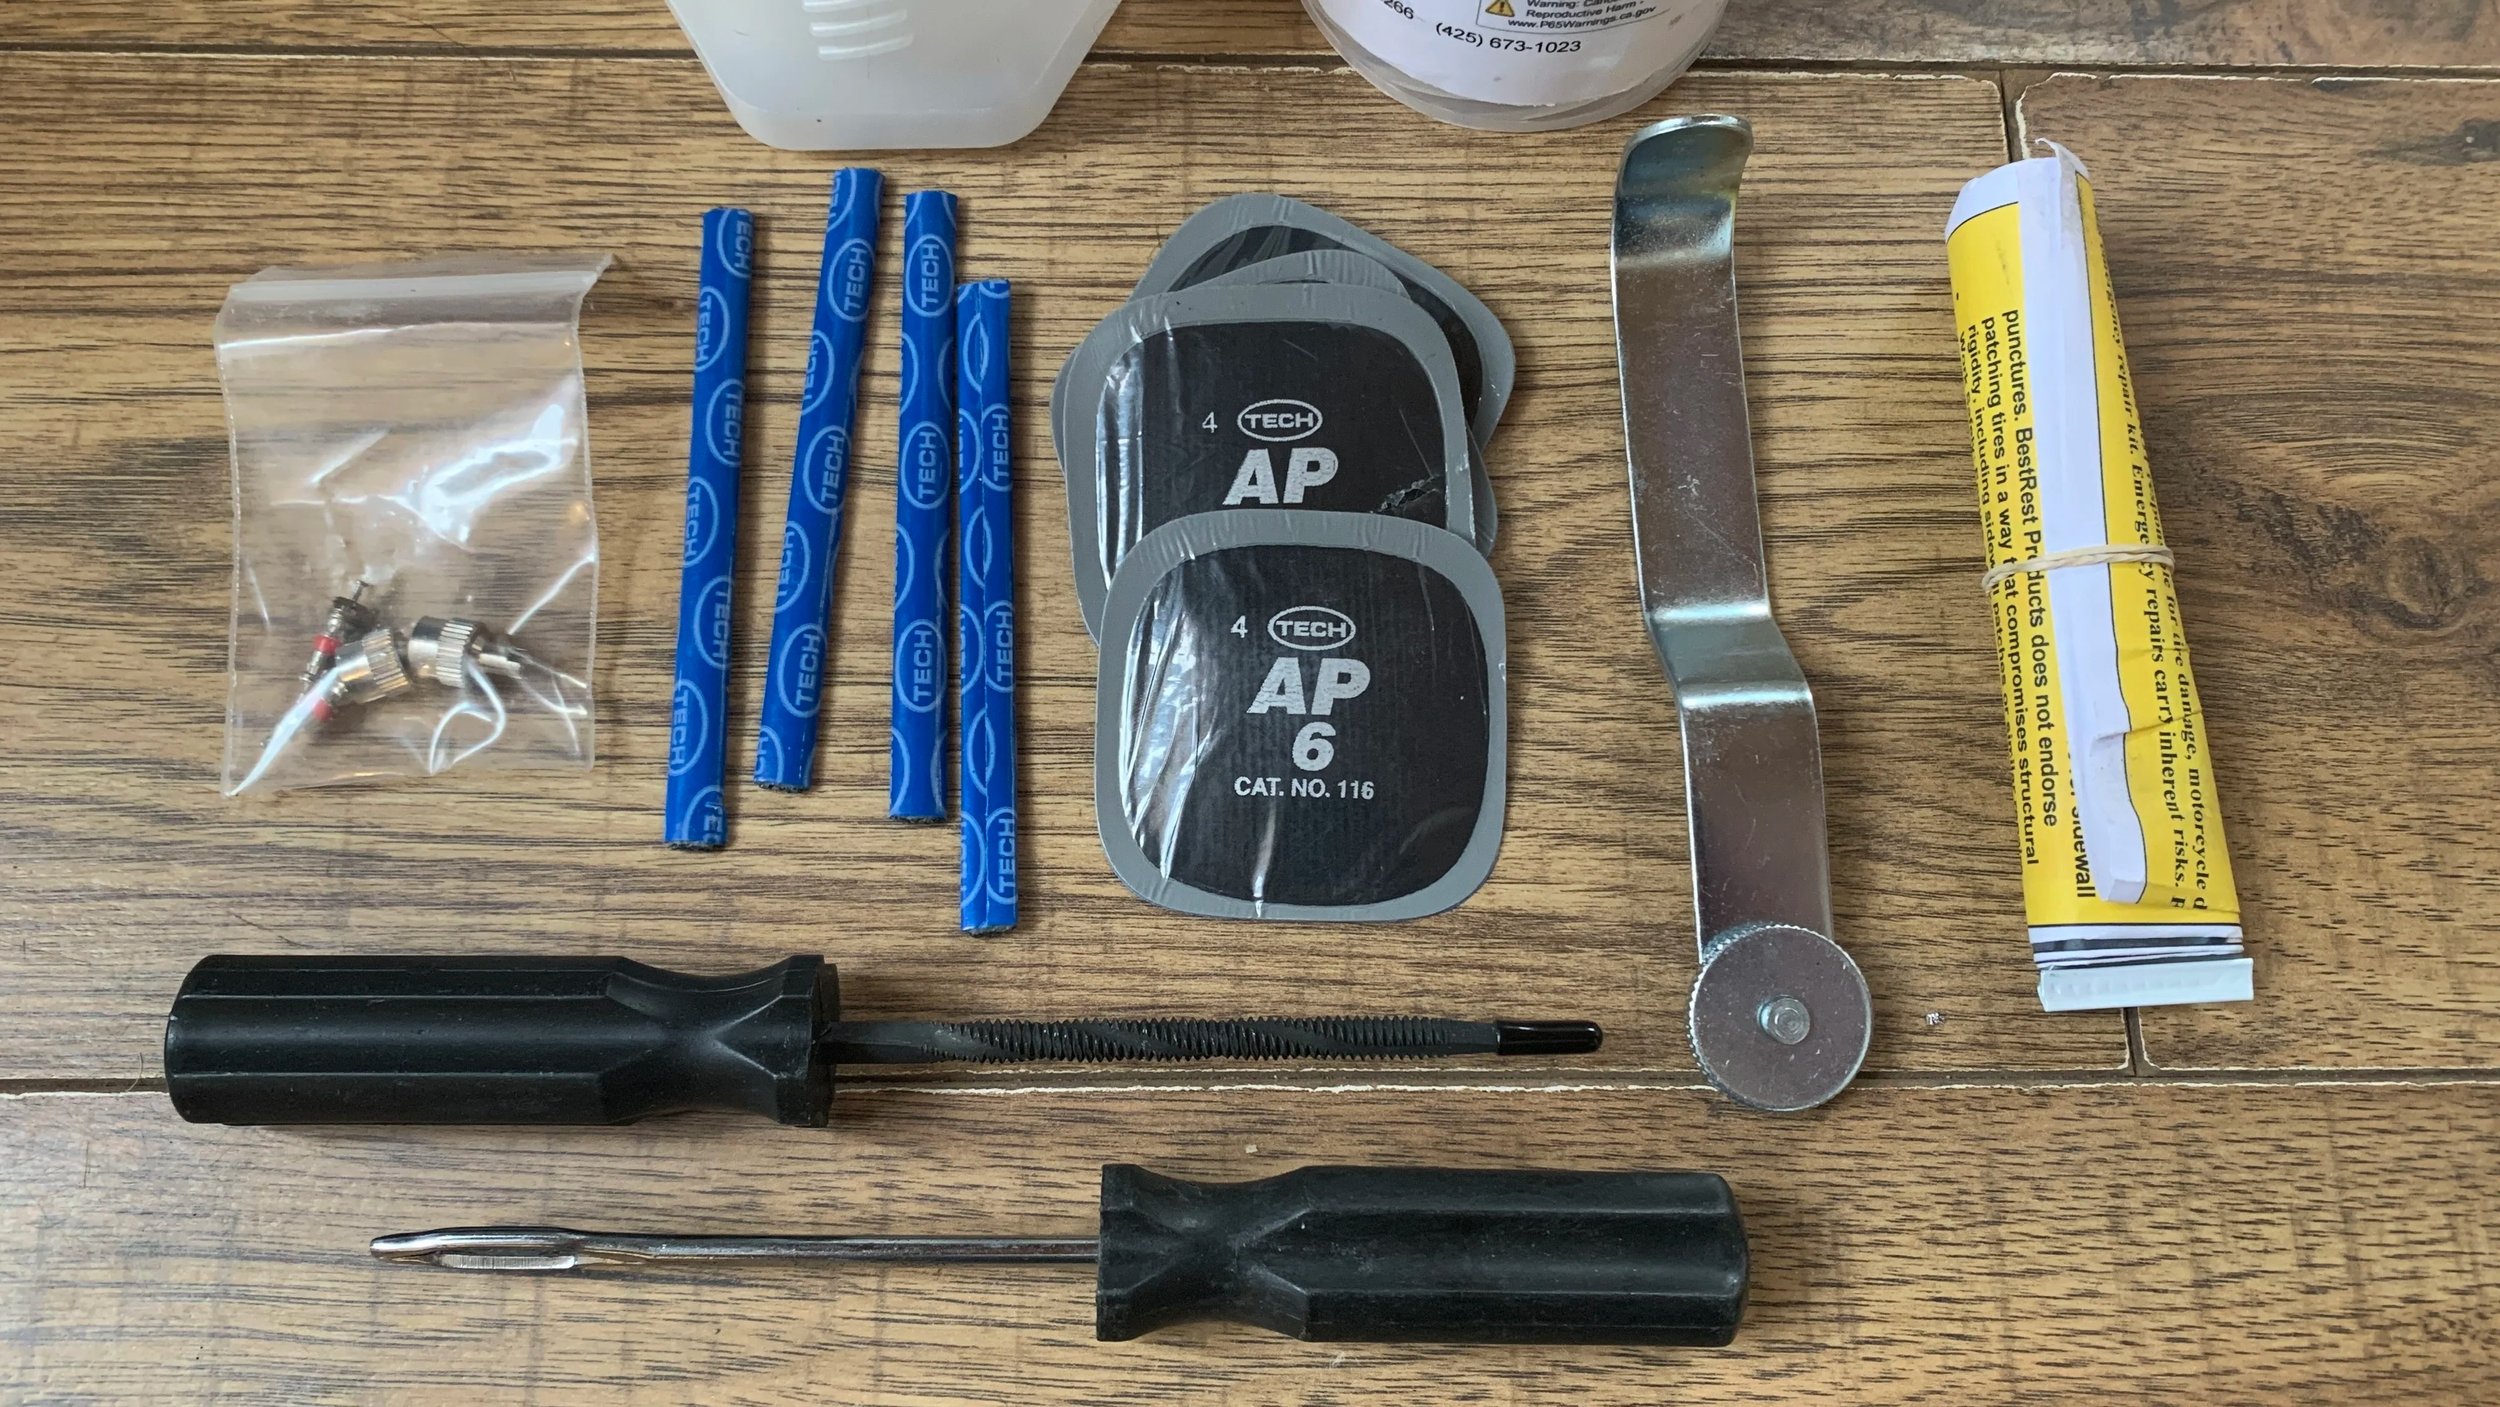
• Patch kit with vulcanizing cement, scuffer/rasp, and a small roller
• Chalk/paint pen (mark puncture, rotation, spacer side)
• Nitrile or light work gloves; small rag
• Short strap (for propping/tying: tree tie-off, stabilizing a trail stand; also handy to tie the side stand to the front wheel to keep the bike from flopping)
• Small multi-tool kit: adjustable wrench, side cutters, knife/razor
• Duct tape (flattened on a card) + a few zip-ties
• Headlamp or small flashlight
• Bike-specific tools only (confirm at home): axle sizes, Torx/Allens, breaker/leverage
• Practice note: do a full dry run at home (support the bike, remove a wheel, use your pump)
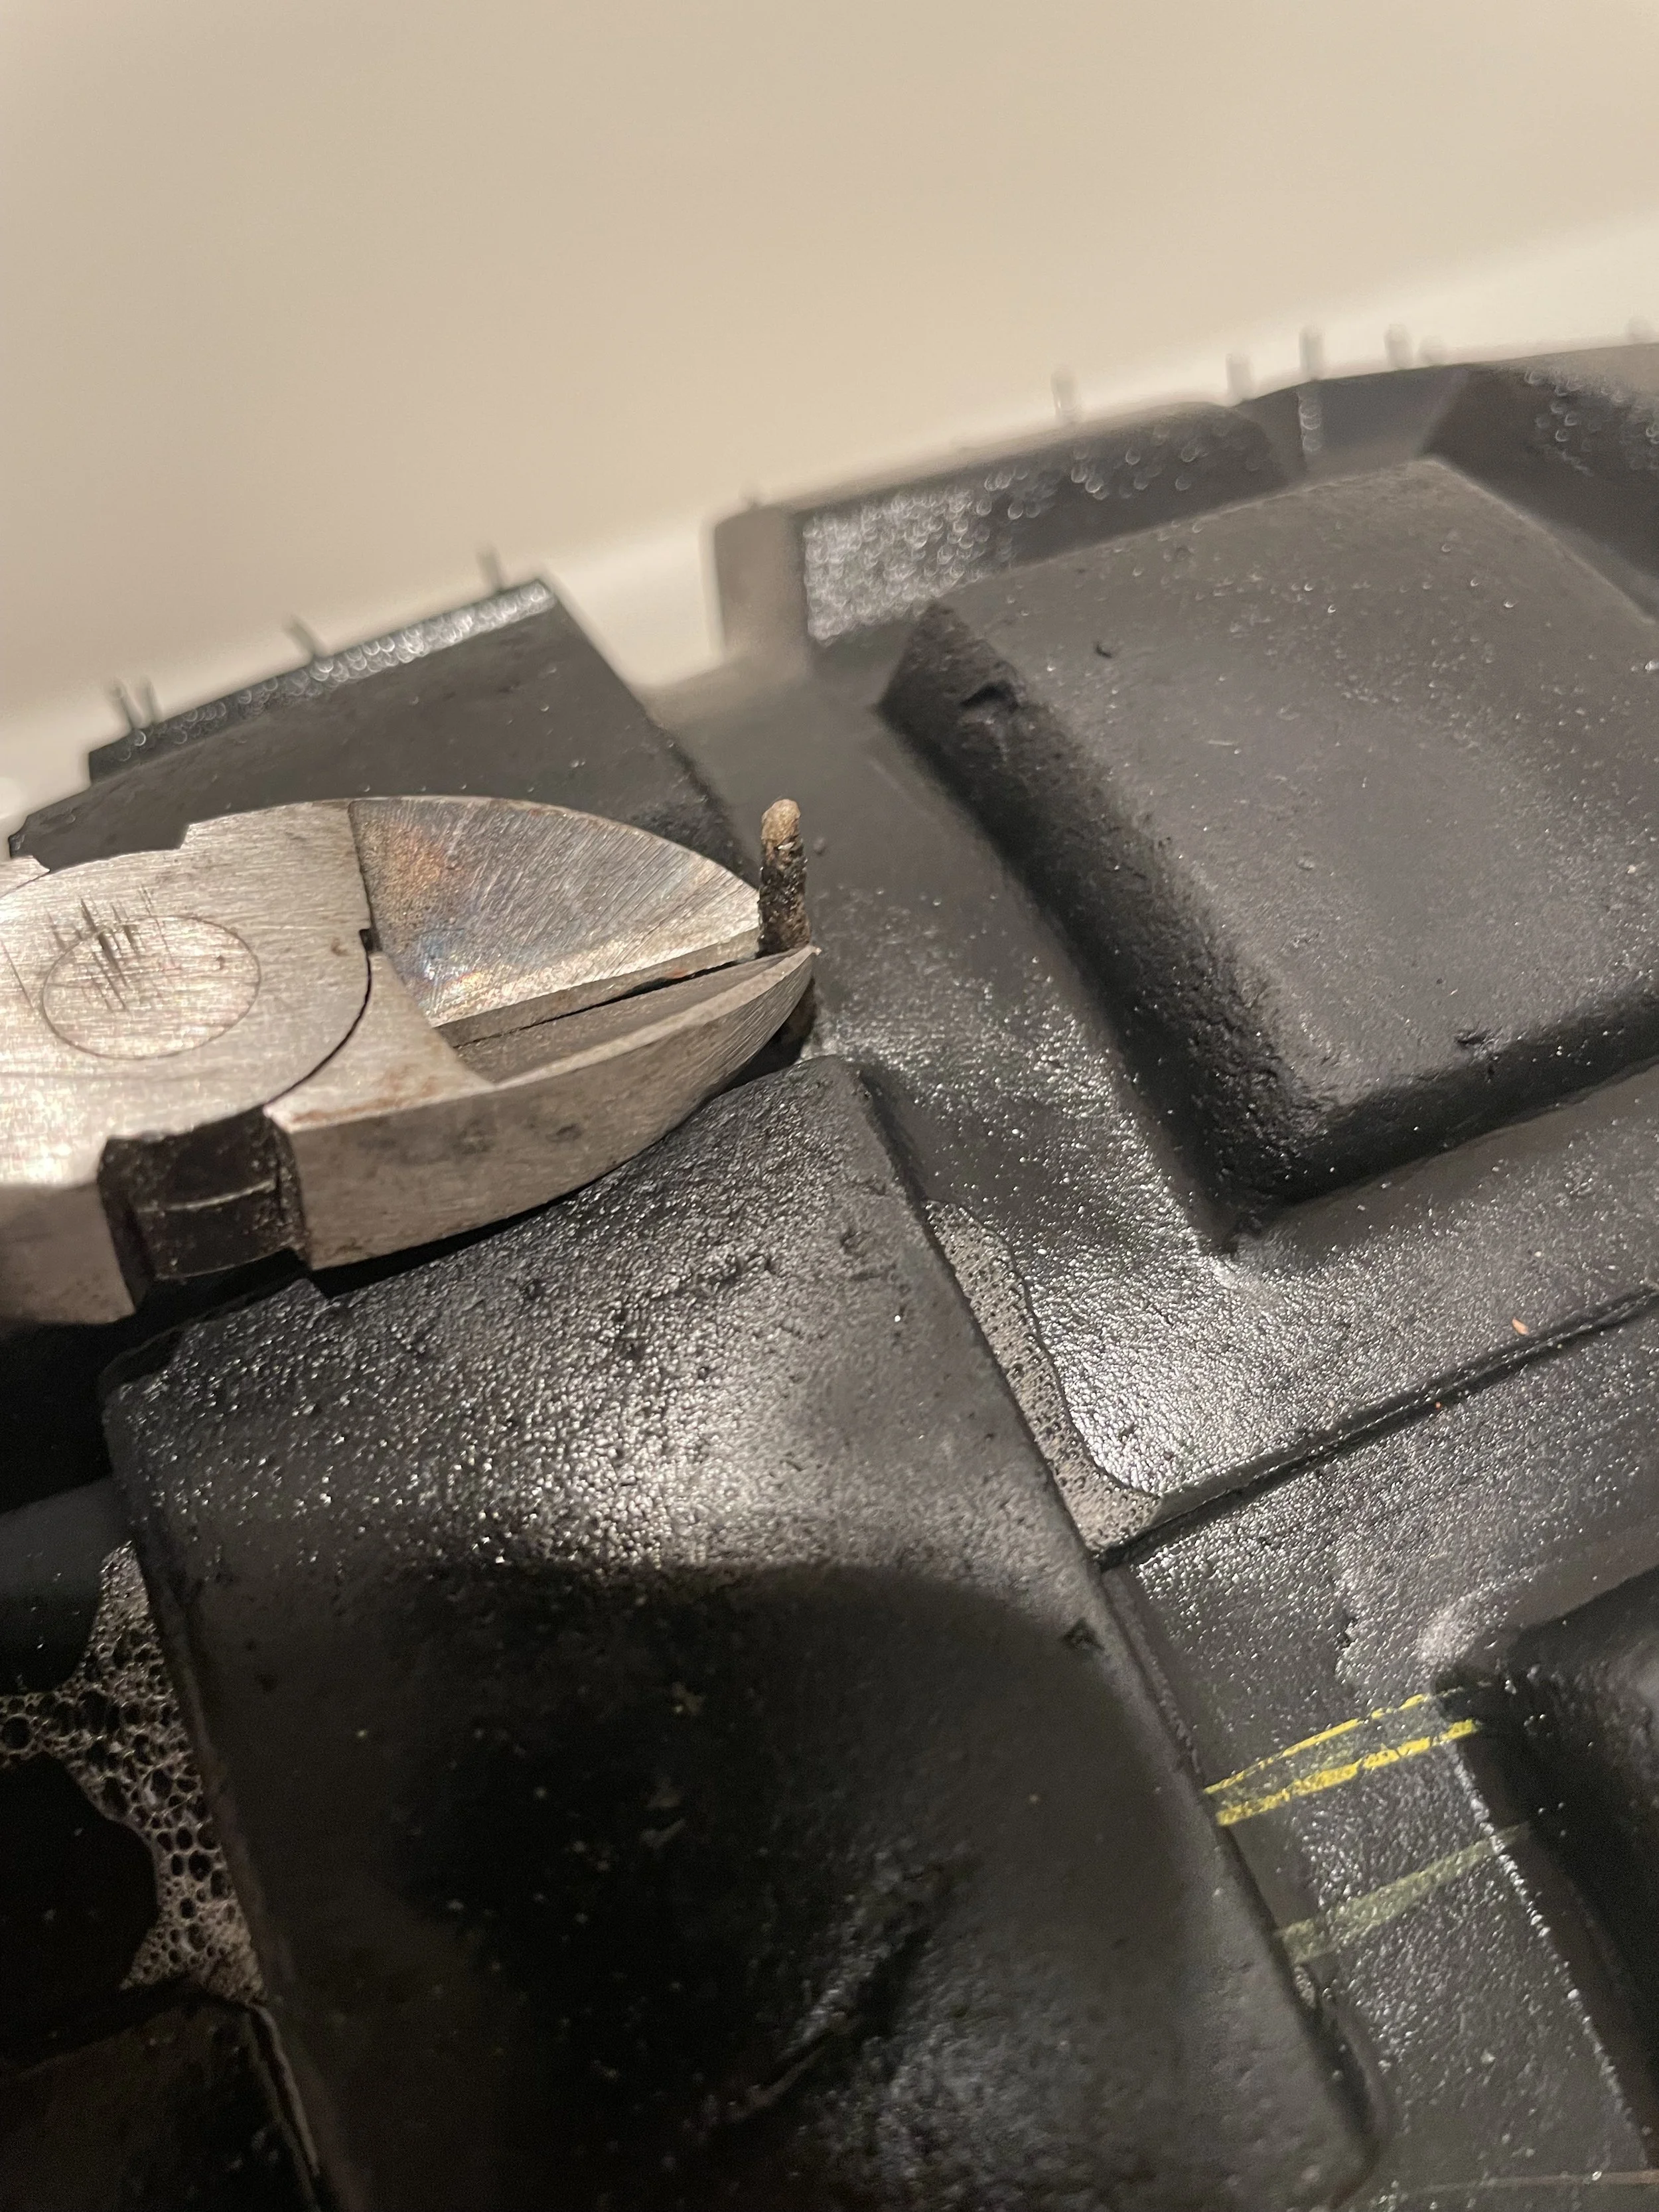
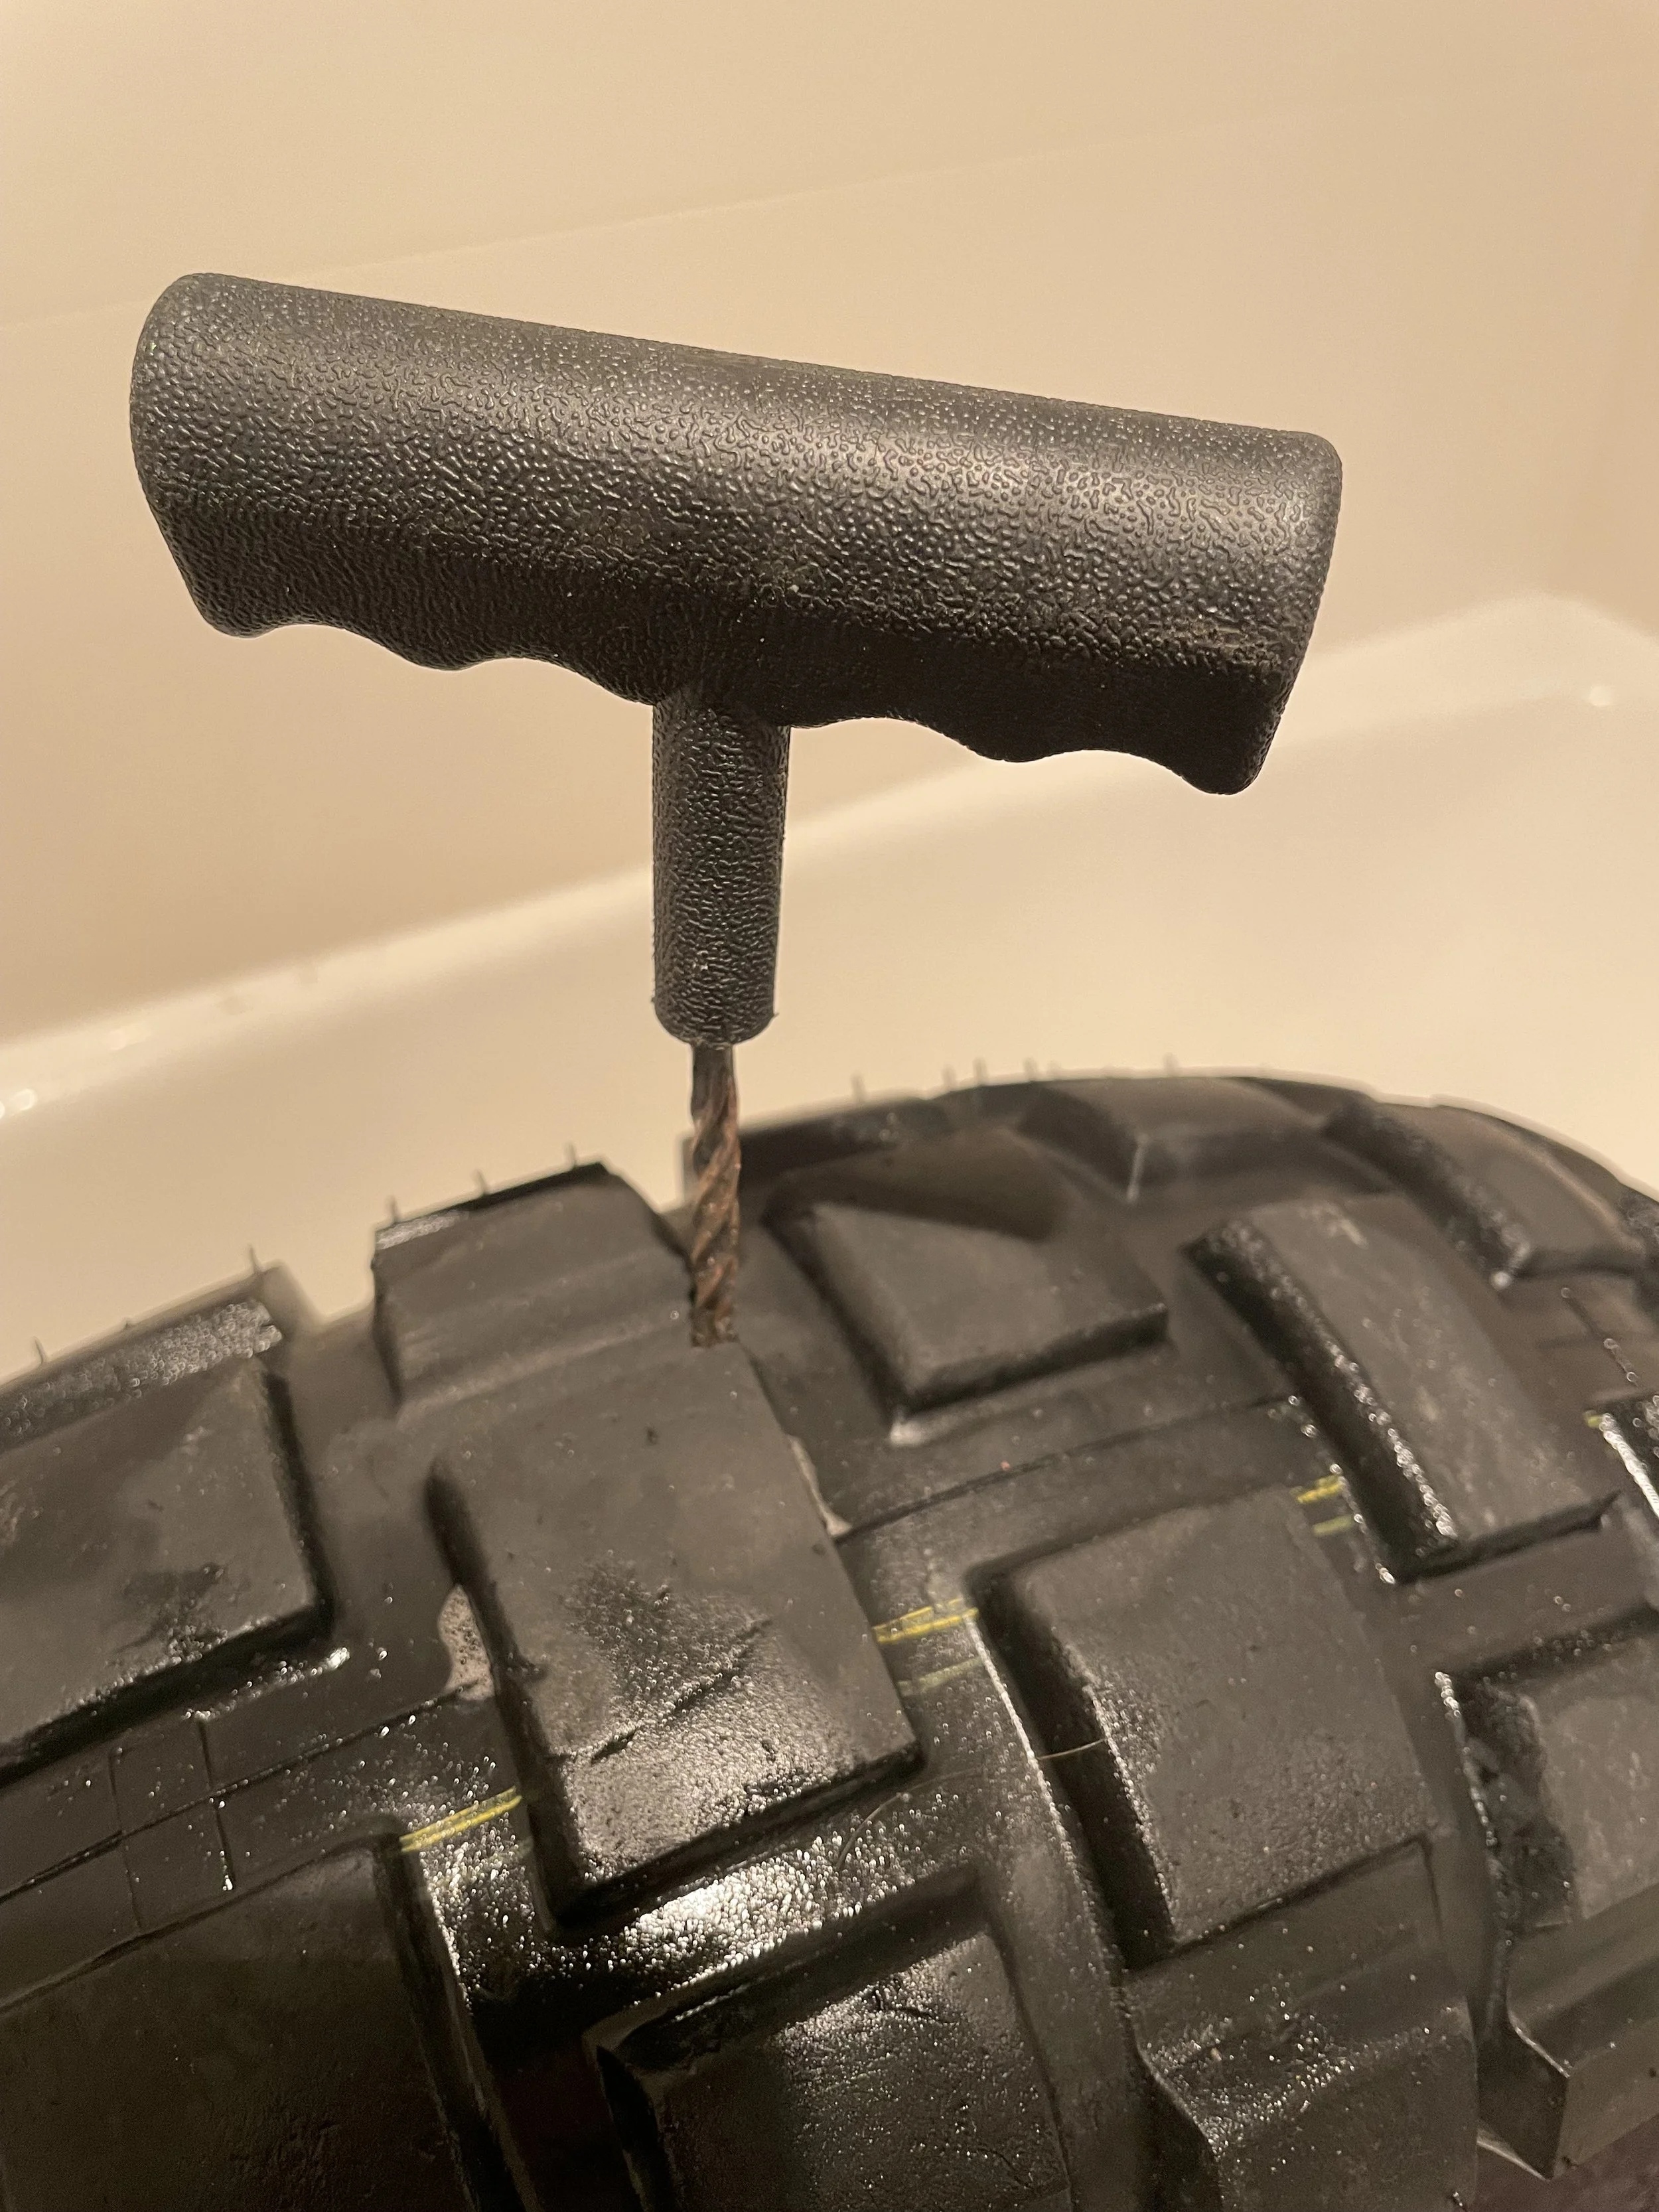
Tubeless kit (plug first; wheel off only if needed)
• Plug kit with “rope” plugs + rubber cement
• Reamer and plug-insertion tool (T-handle preferred)
• Tiny spray bottle (soapy water/Windex) for leak finding
• Spare valve cores; TPMS-friendly valve bits if your bike needs them
• Optional emergency tube (front 21″ works in a rear to limp out - **** Clinton’s choice is to carry two tubes a 21 and a 17 inch). Only pack a tube if you’re also carrying tire irons and lube (you’ll need to open the tire and/or remove the wheel to use it).
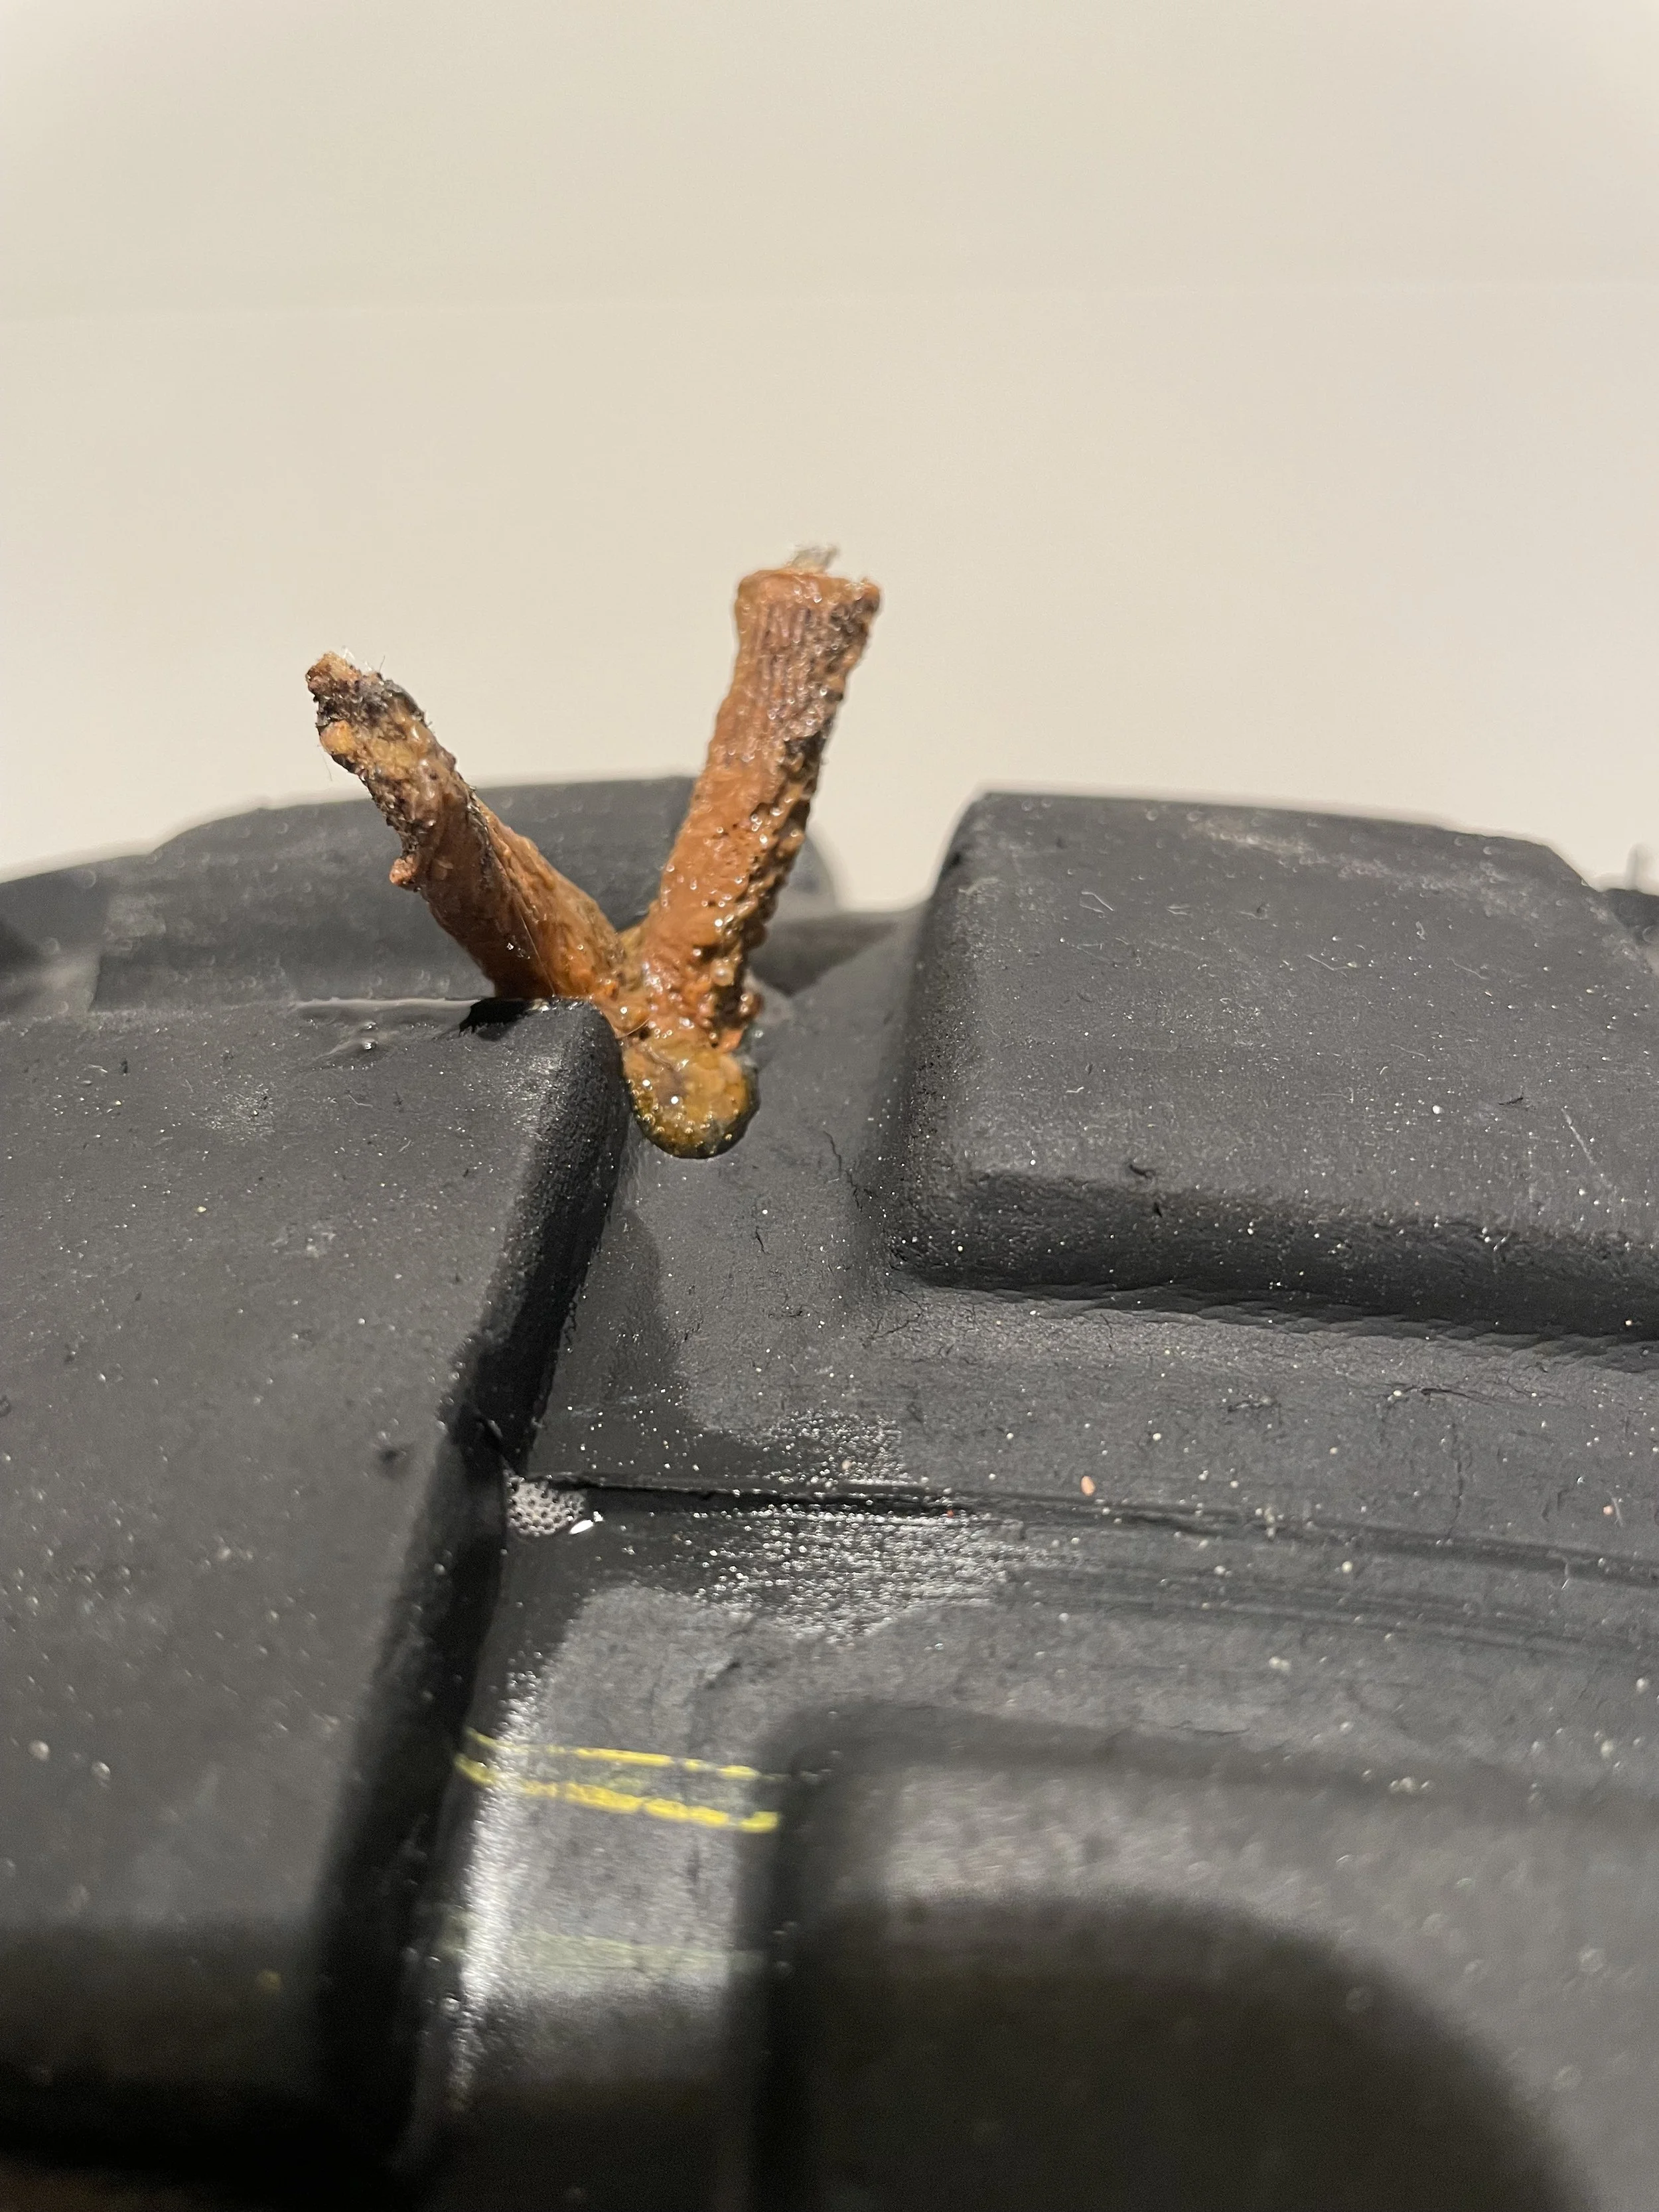
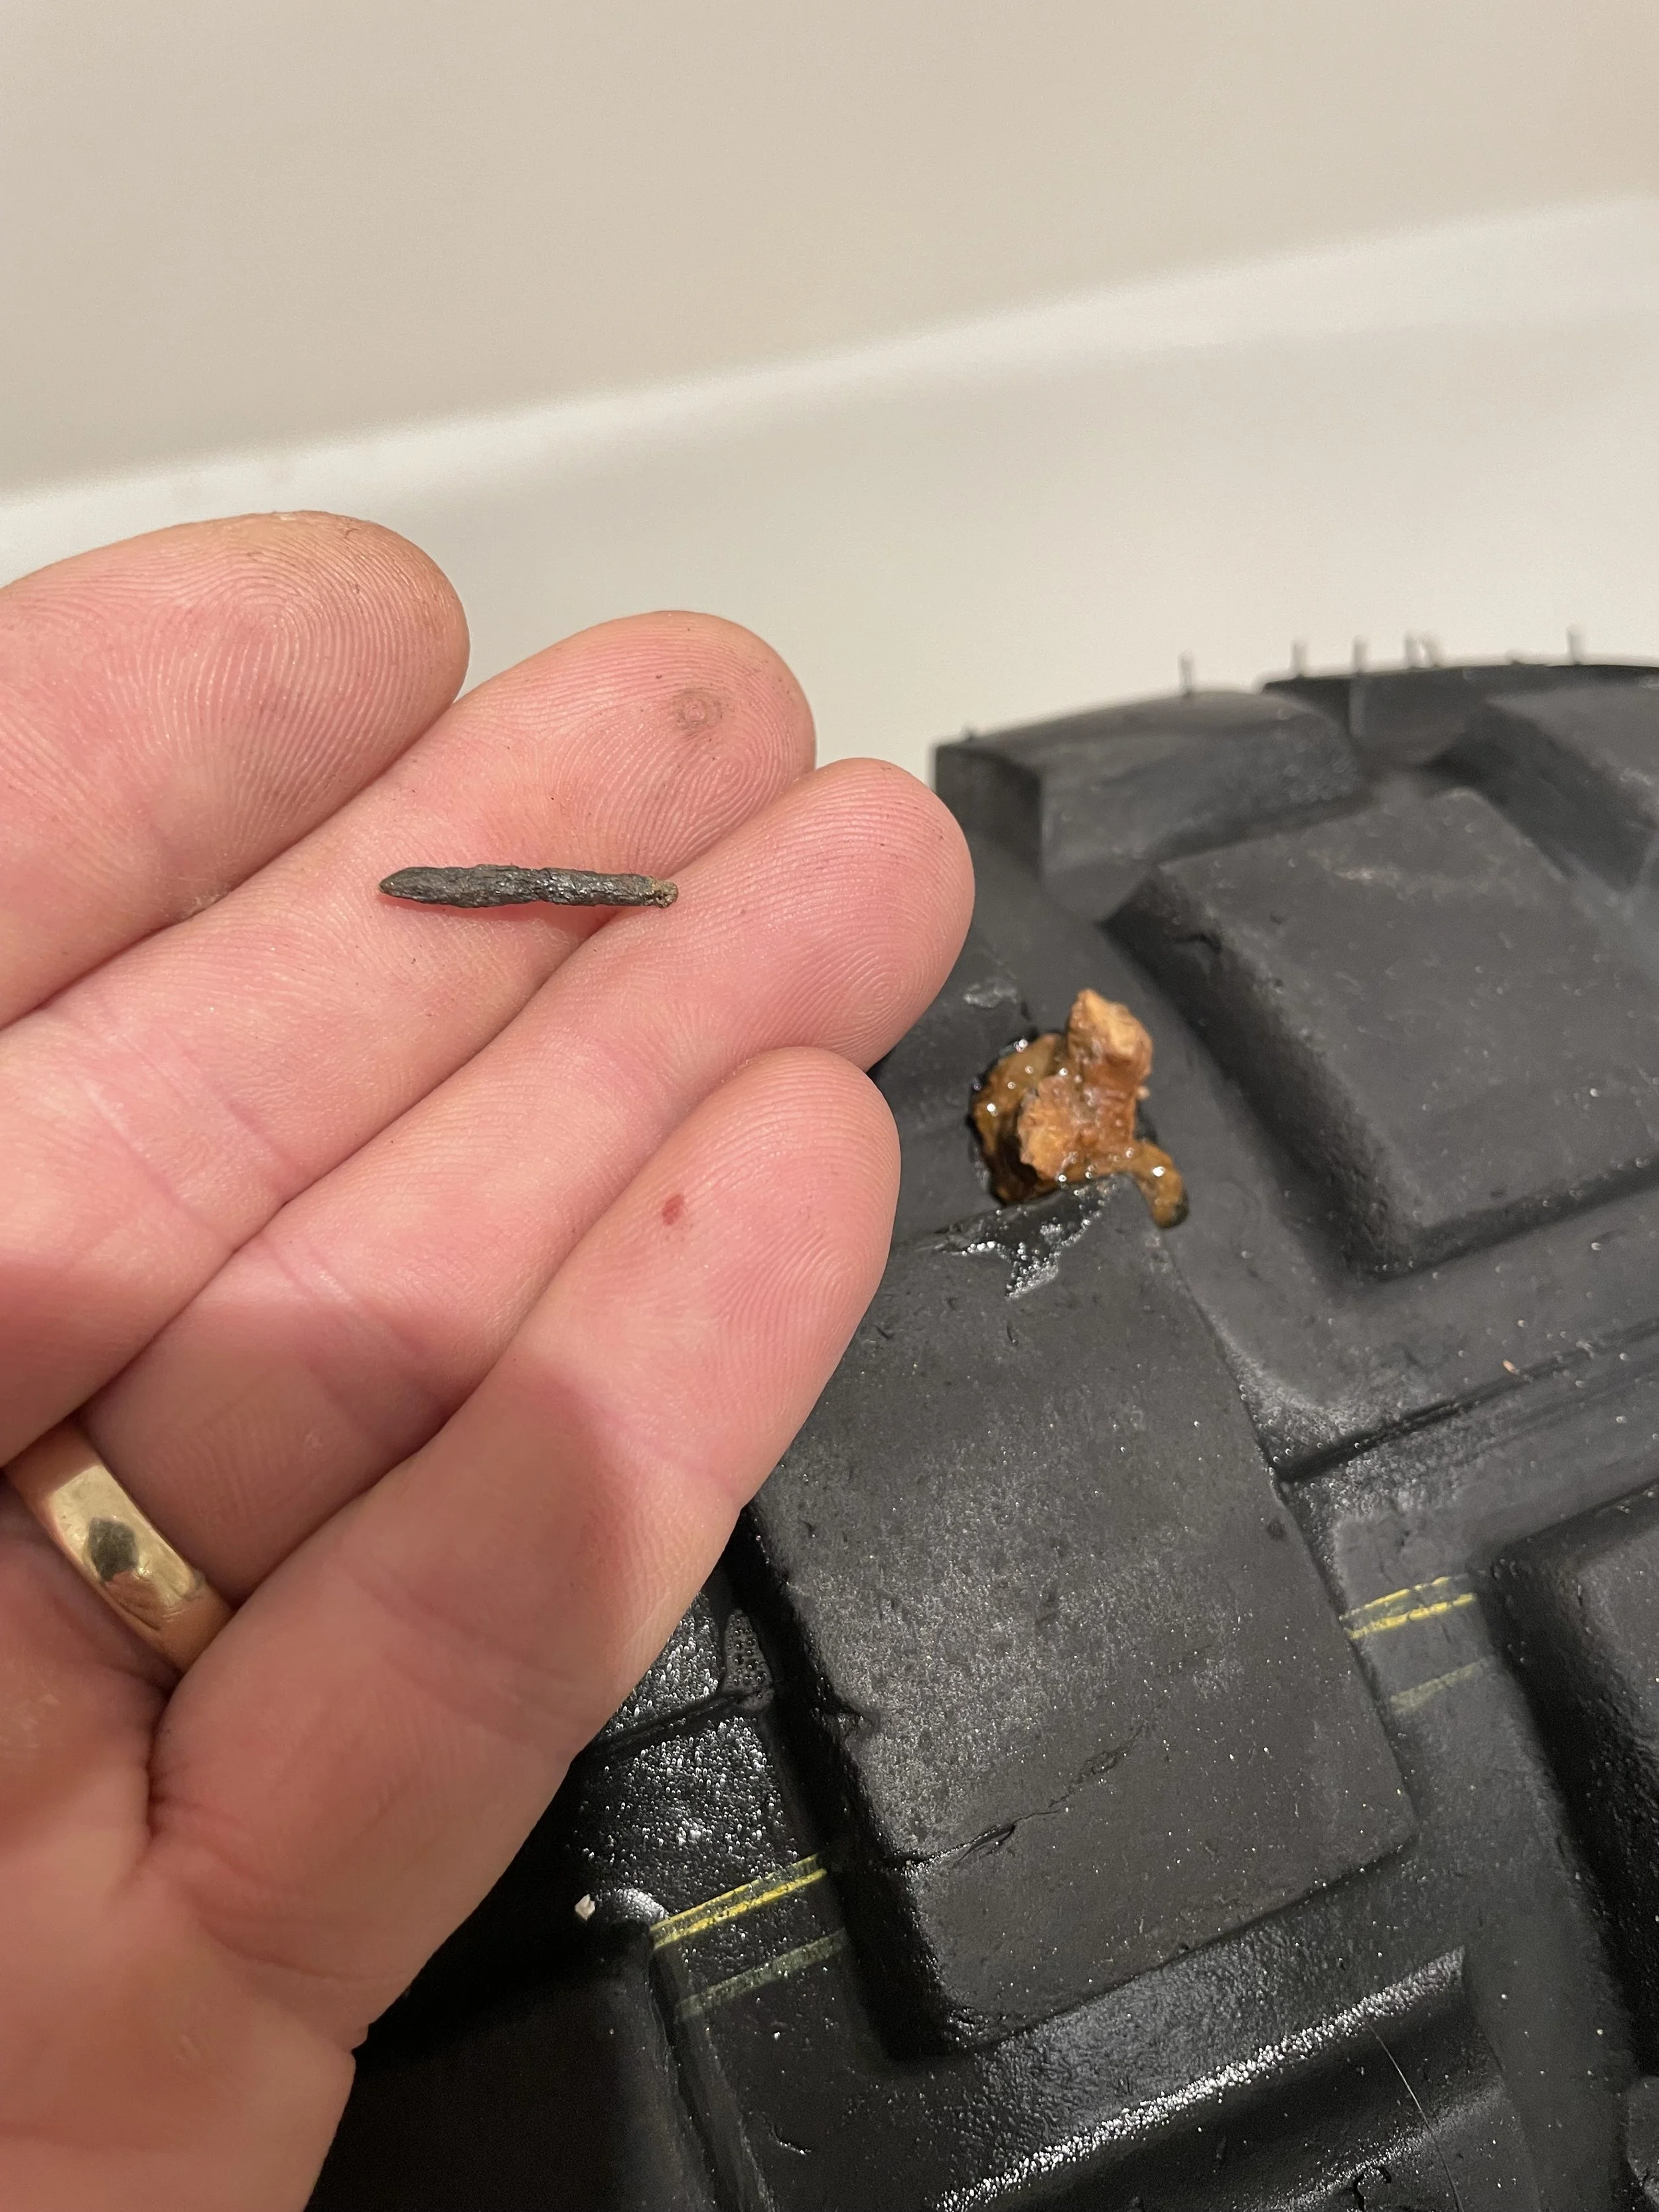
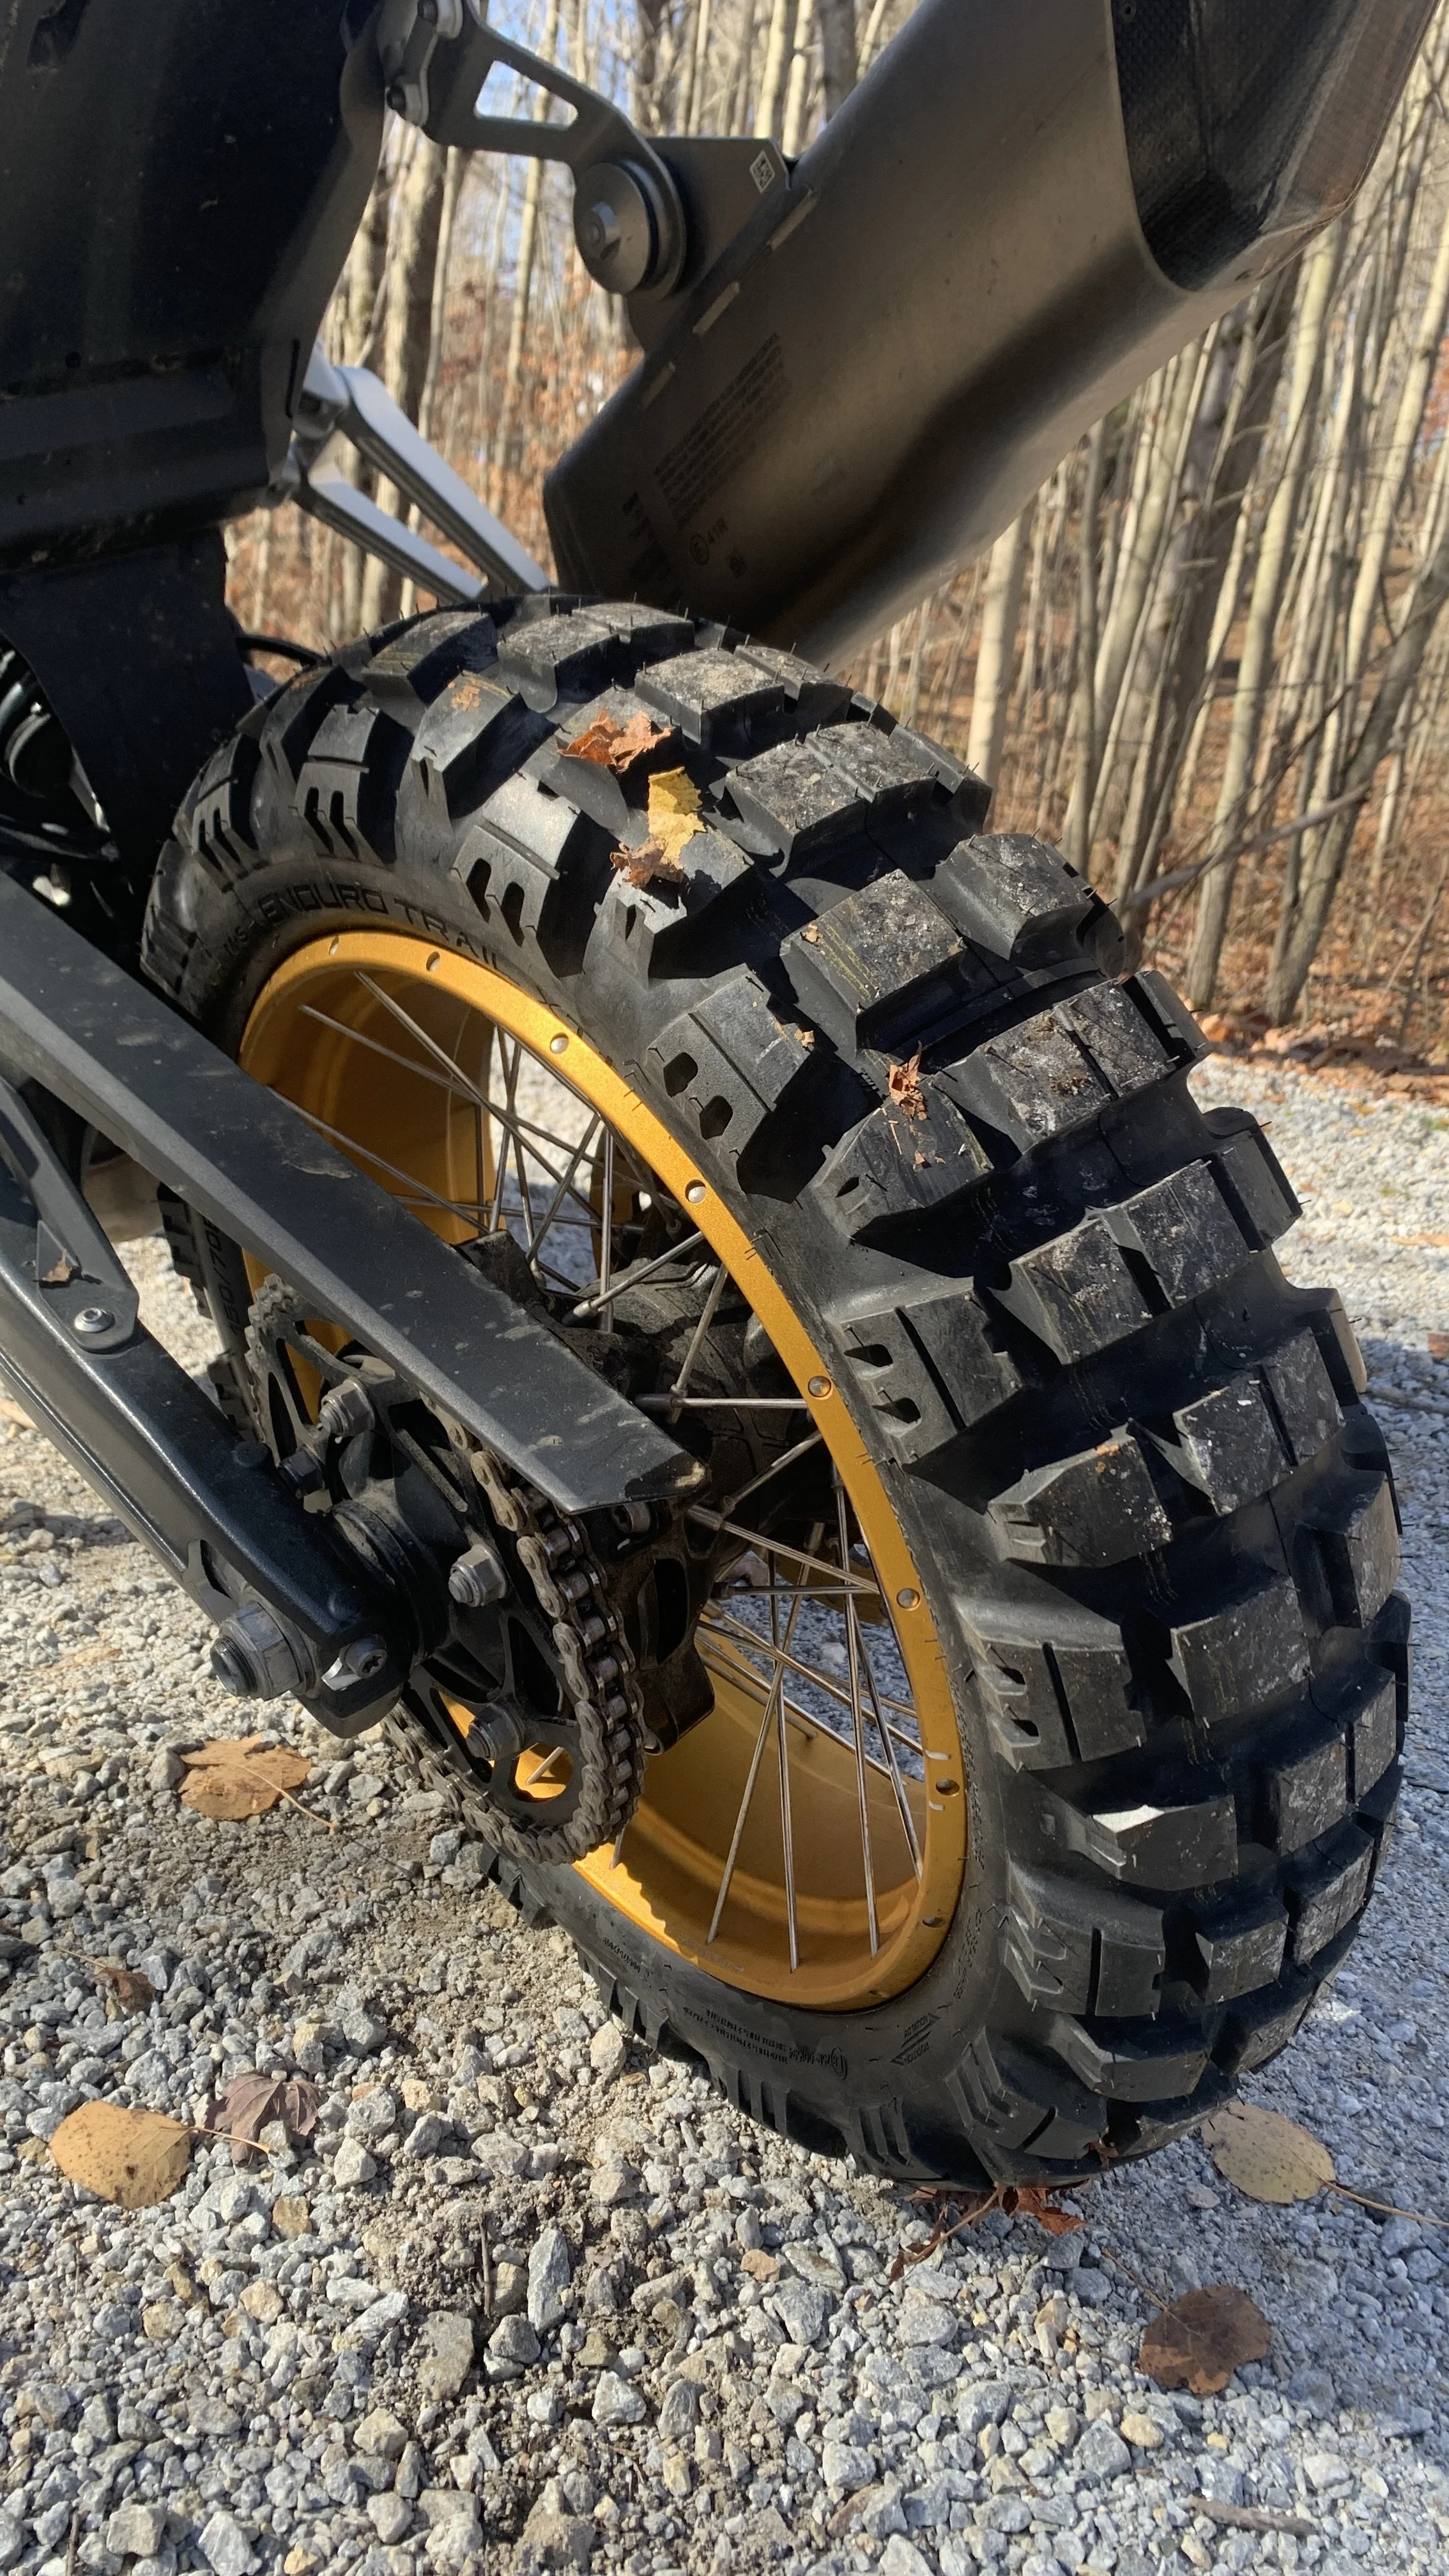
Tip: Plug tread punctures only. Cuts, sidewalls, or bead issues = limp-home at reduced speed (or install a tube).
Tube-type kit (wheel off)
Tubes: 21″ front and your rear (17″/18″), or carry just a 21″ as a universal emergency tube
Thickness: Heavy-duty/UHD – tougher against pinch flats, bulkier, runs hotter at highway speeds; Standard/thin – packs small, easier trail fit; great as a spare even if you run HD
• Rim strip or a wrap of tape for spoke heads (if the strip is torn)
• Talc/baby powder (light dusting reduces folds and pinches)
• Valve-stem nuts and caps (spares)
• Bead “helpers” (clip/wedge) to keep the opposite bead down in the drop center
• Short piece of soft wire or a valve-puller (to guide the tube’s valve through the rim)
• Small hand pump as a backup to the 12-V compressor
Safety notes for tube wheels:
• Work on the disc side, not the sprocket side, to save your hands.
• Give the tube a breath or two before levering to avoid pinches.
• Feel inside the carcass for nails/wires; check the rim strip.
• After spreading pads to refit a wheel, pump the brake lever before riding.
The BestRest CyclePump moves enough air to seat beads on big ADV tires and is built to live on the bike.
BestRest tube & tubeless kits include proper cement, quality patches/plugs, a reamer, and a roller—“buy once” kit.


DISCLAIMER: This segment is provided solely for informational purposes and should not be viewed as a substitute for formal rider training. It is highly recommended that you consult a certified professional trainer before attempting any of the discussed techniques, or proceed at your own risk. Canoe West Media, Adventure Rider Radio, SMART Adventures, SMART Performance Centre, and Clinton Smout accept no liability for any injuries or damages sustained, including but not limited to those affecting yourself, another individual, or a motorcycle. Your safety and the safety of others are of the utmost importance.
More RIDER SKILLS episodes at https://adventureriderradio.com/riderskills.